
Capture the Moment!
Since 2013, I’ve published hundreds of blog posts on all aspects of photography. Some are aimed at helping photographers with their technique, settings, and equipment, but others describe my exhibitions, workshops, and adventures in Africa, Antarctica, and beyond.
Feel free to browse chronologically or click on the category heading above any post for specific content, such as Equipment, Trips or Hints and Tips.
If you’d like to write a guest post, please drop me a line at nick@nickdalephotography.com or on +44 7942 800921.

Keyboard Shortcuts for Photographers
There’s a lot of admin involved in being a photographer, but a good way to cut down your workload is by using keyboard shortcuts. Let’s have a look at all the options—both on your computer and your smartphone.
Calibration can Make Your Images Pop!
Calibration might be the last panel in the Lightroom Develop module, but it’s by no means the least useful. I often use the Blue Primary Saturation slider to make my images ‘pop’', and you can do the same!
Experiment with Lens Blur
Lightroom's latest release (13.0.1) has just come out, and it offers a cool new AI feature called Lens Blur that works with any image format. It's labelled 'Early Access', so it's experimental and doesn't (yet) work with masking or presets or include sharpening, but it's a great way to add creative blur in post.
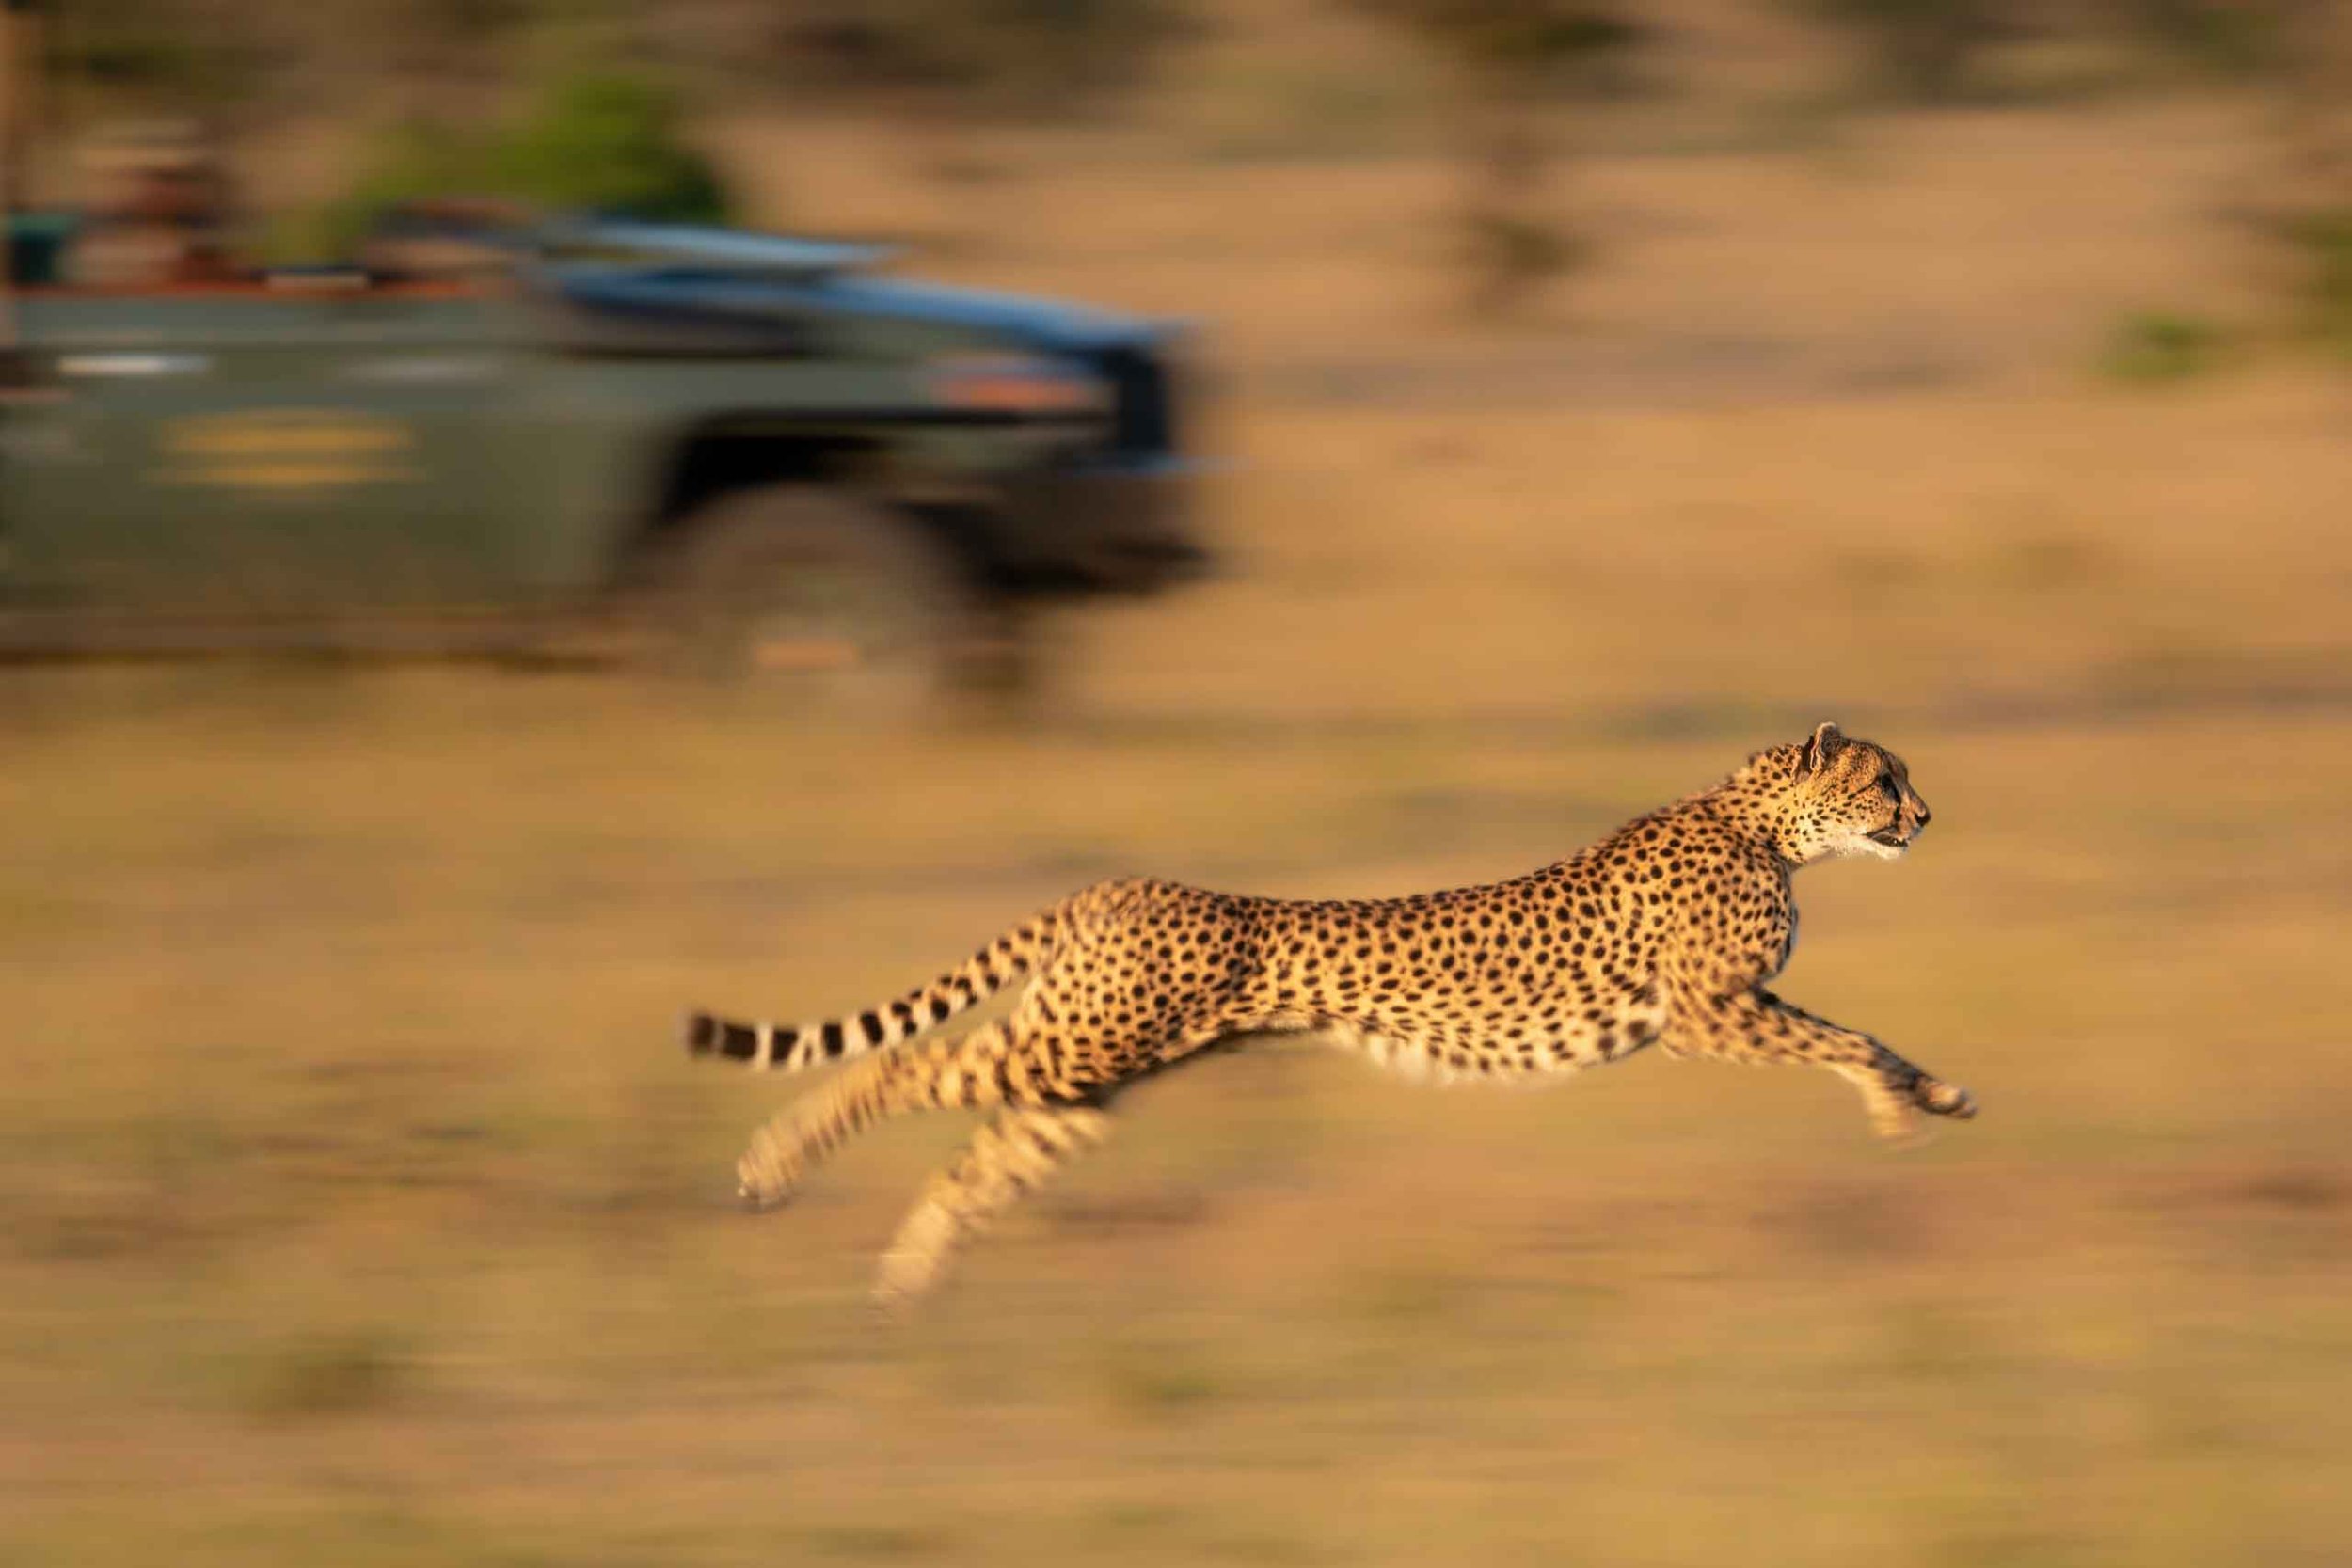
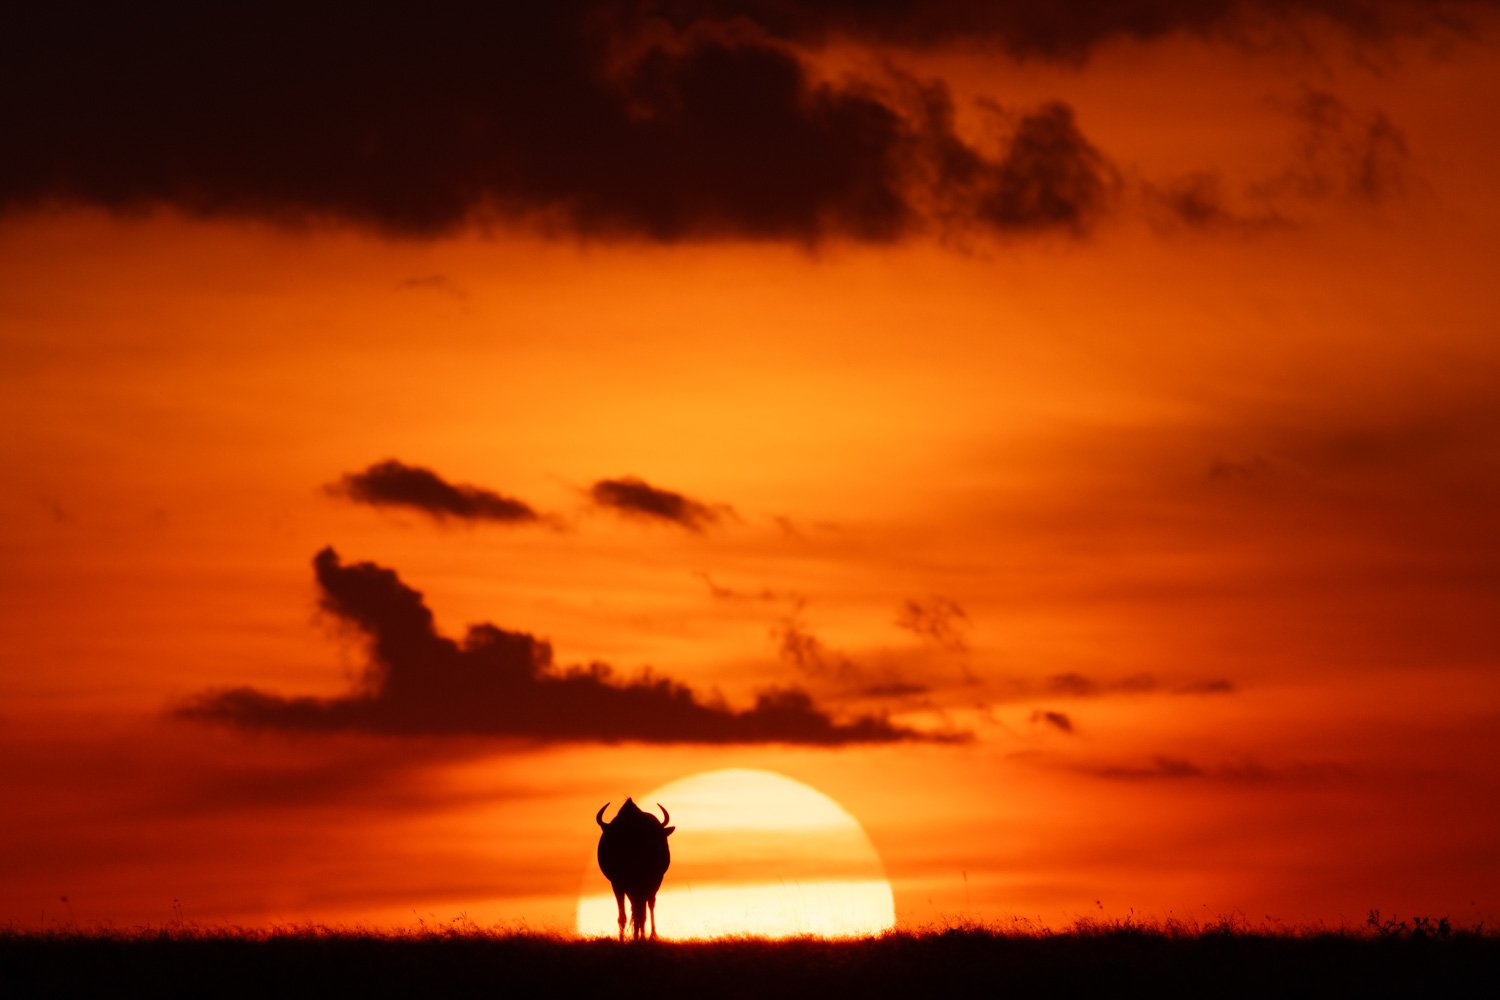
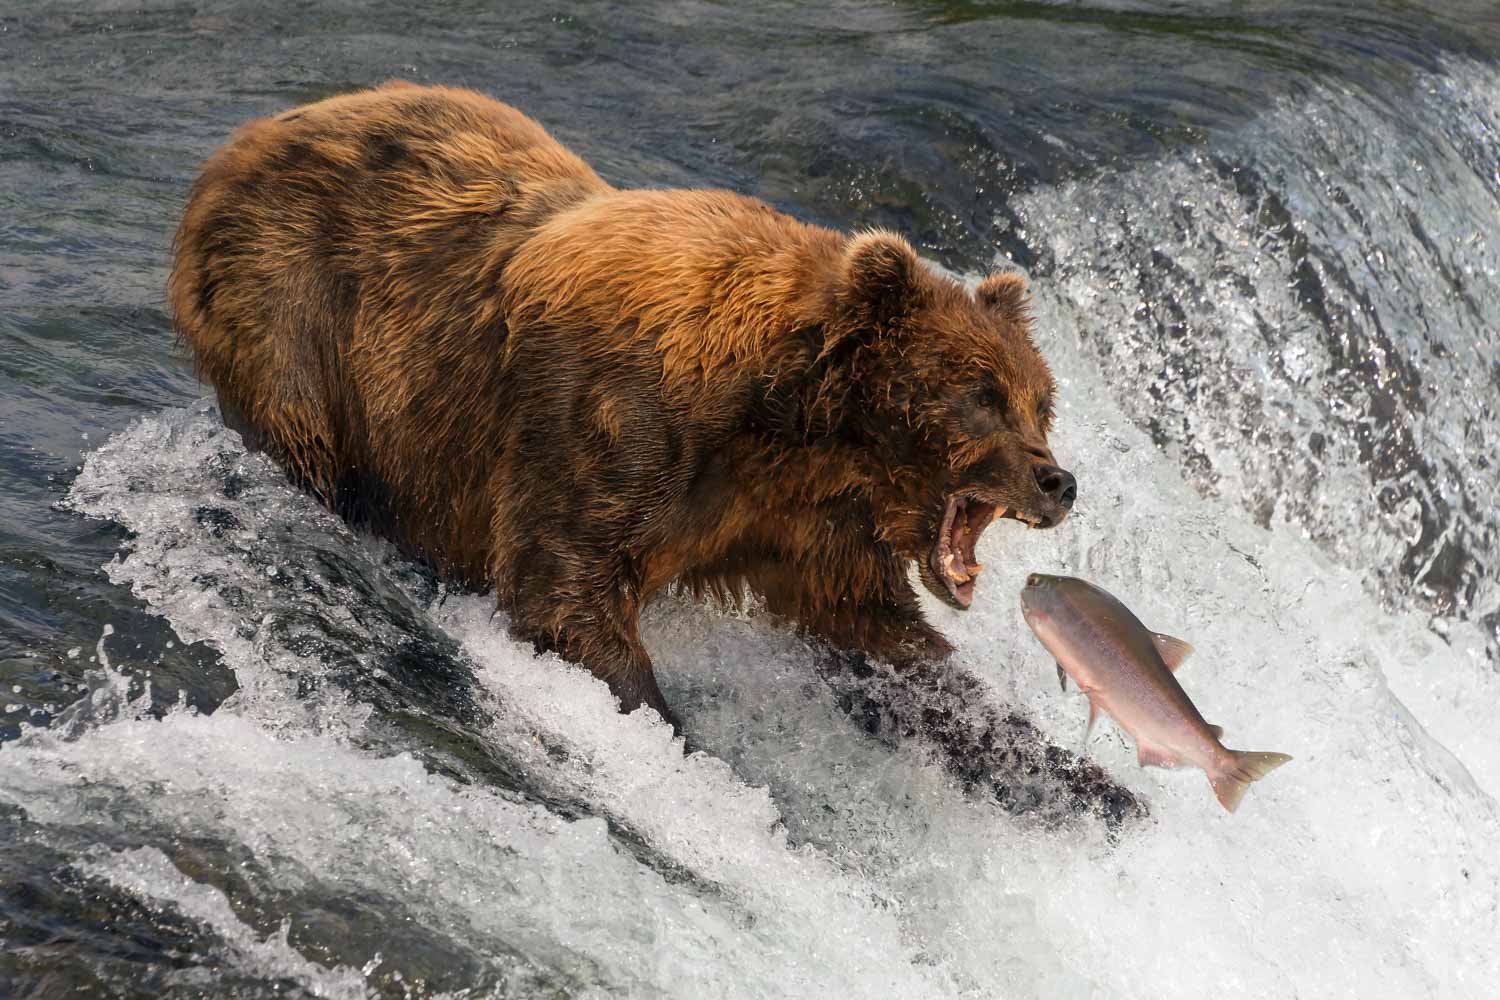
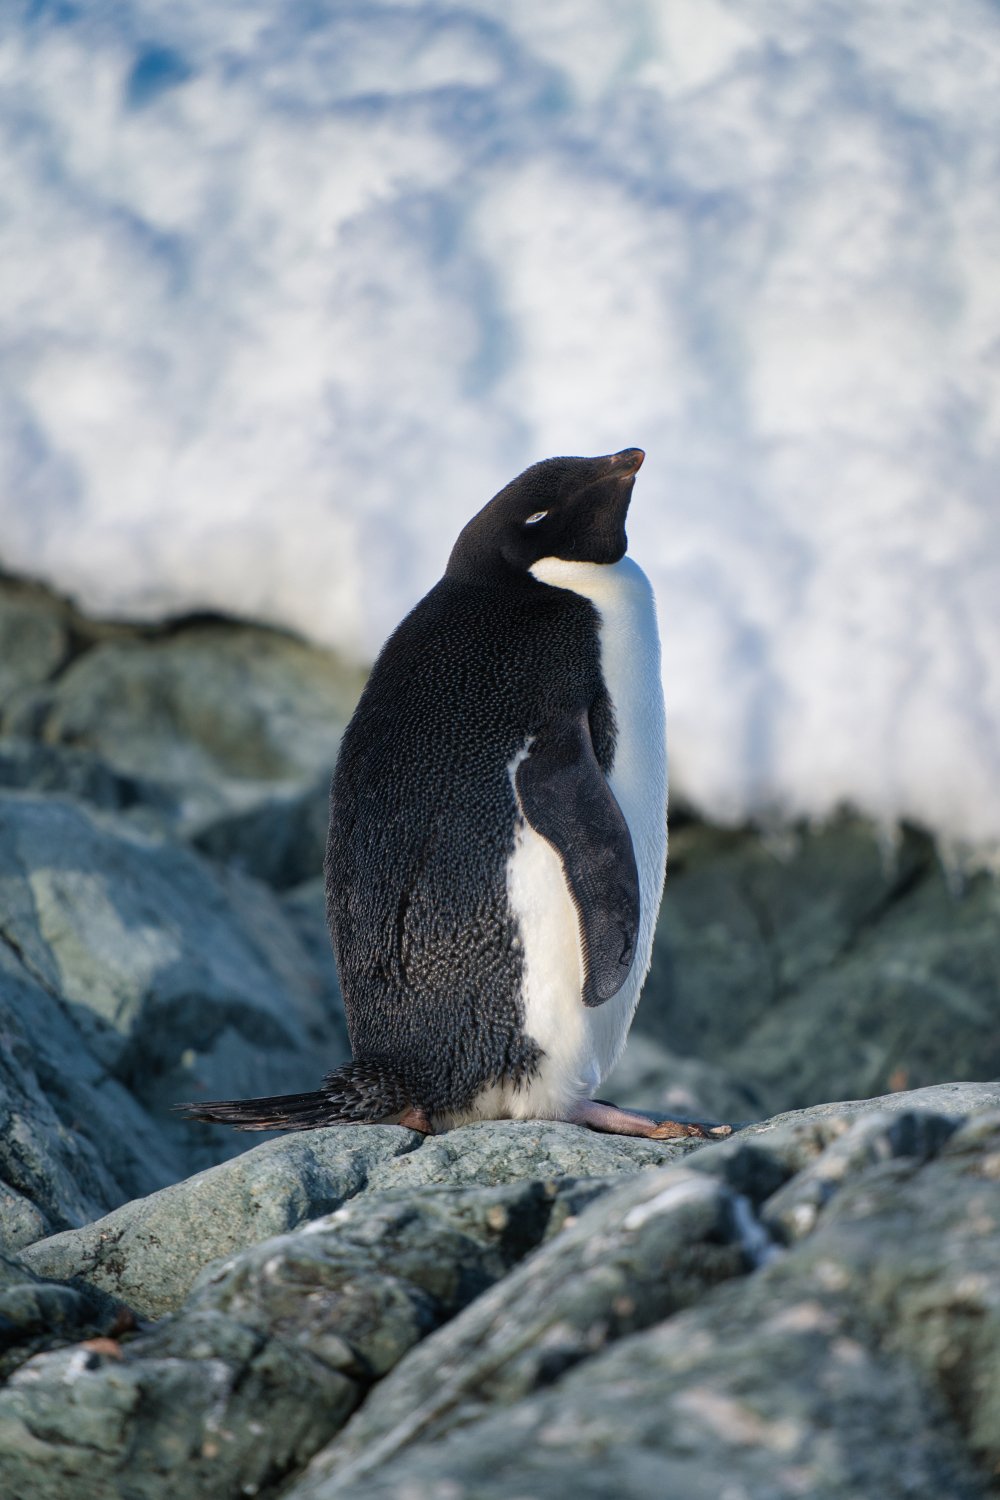
Experiment with Different Styles
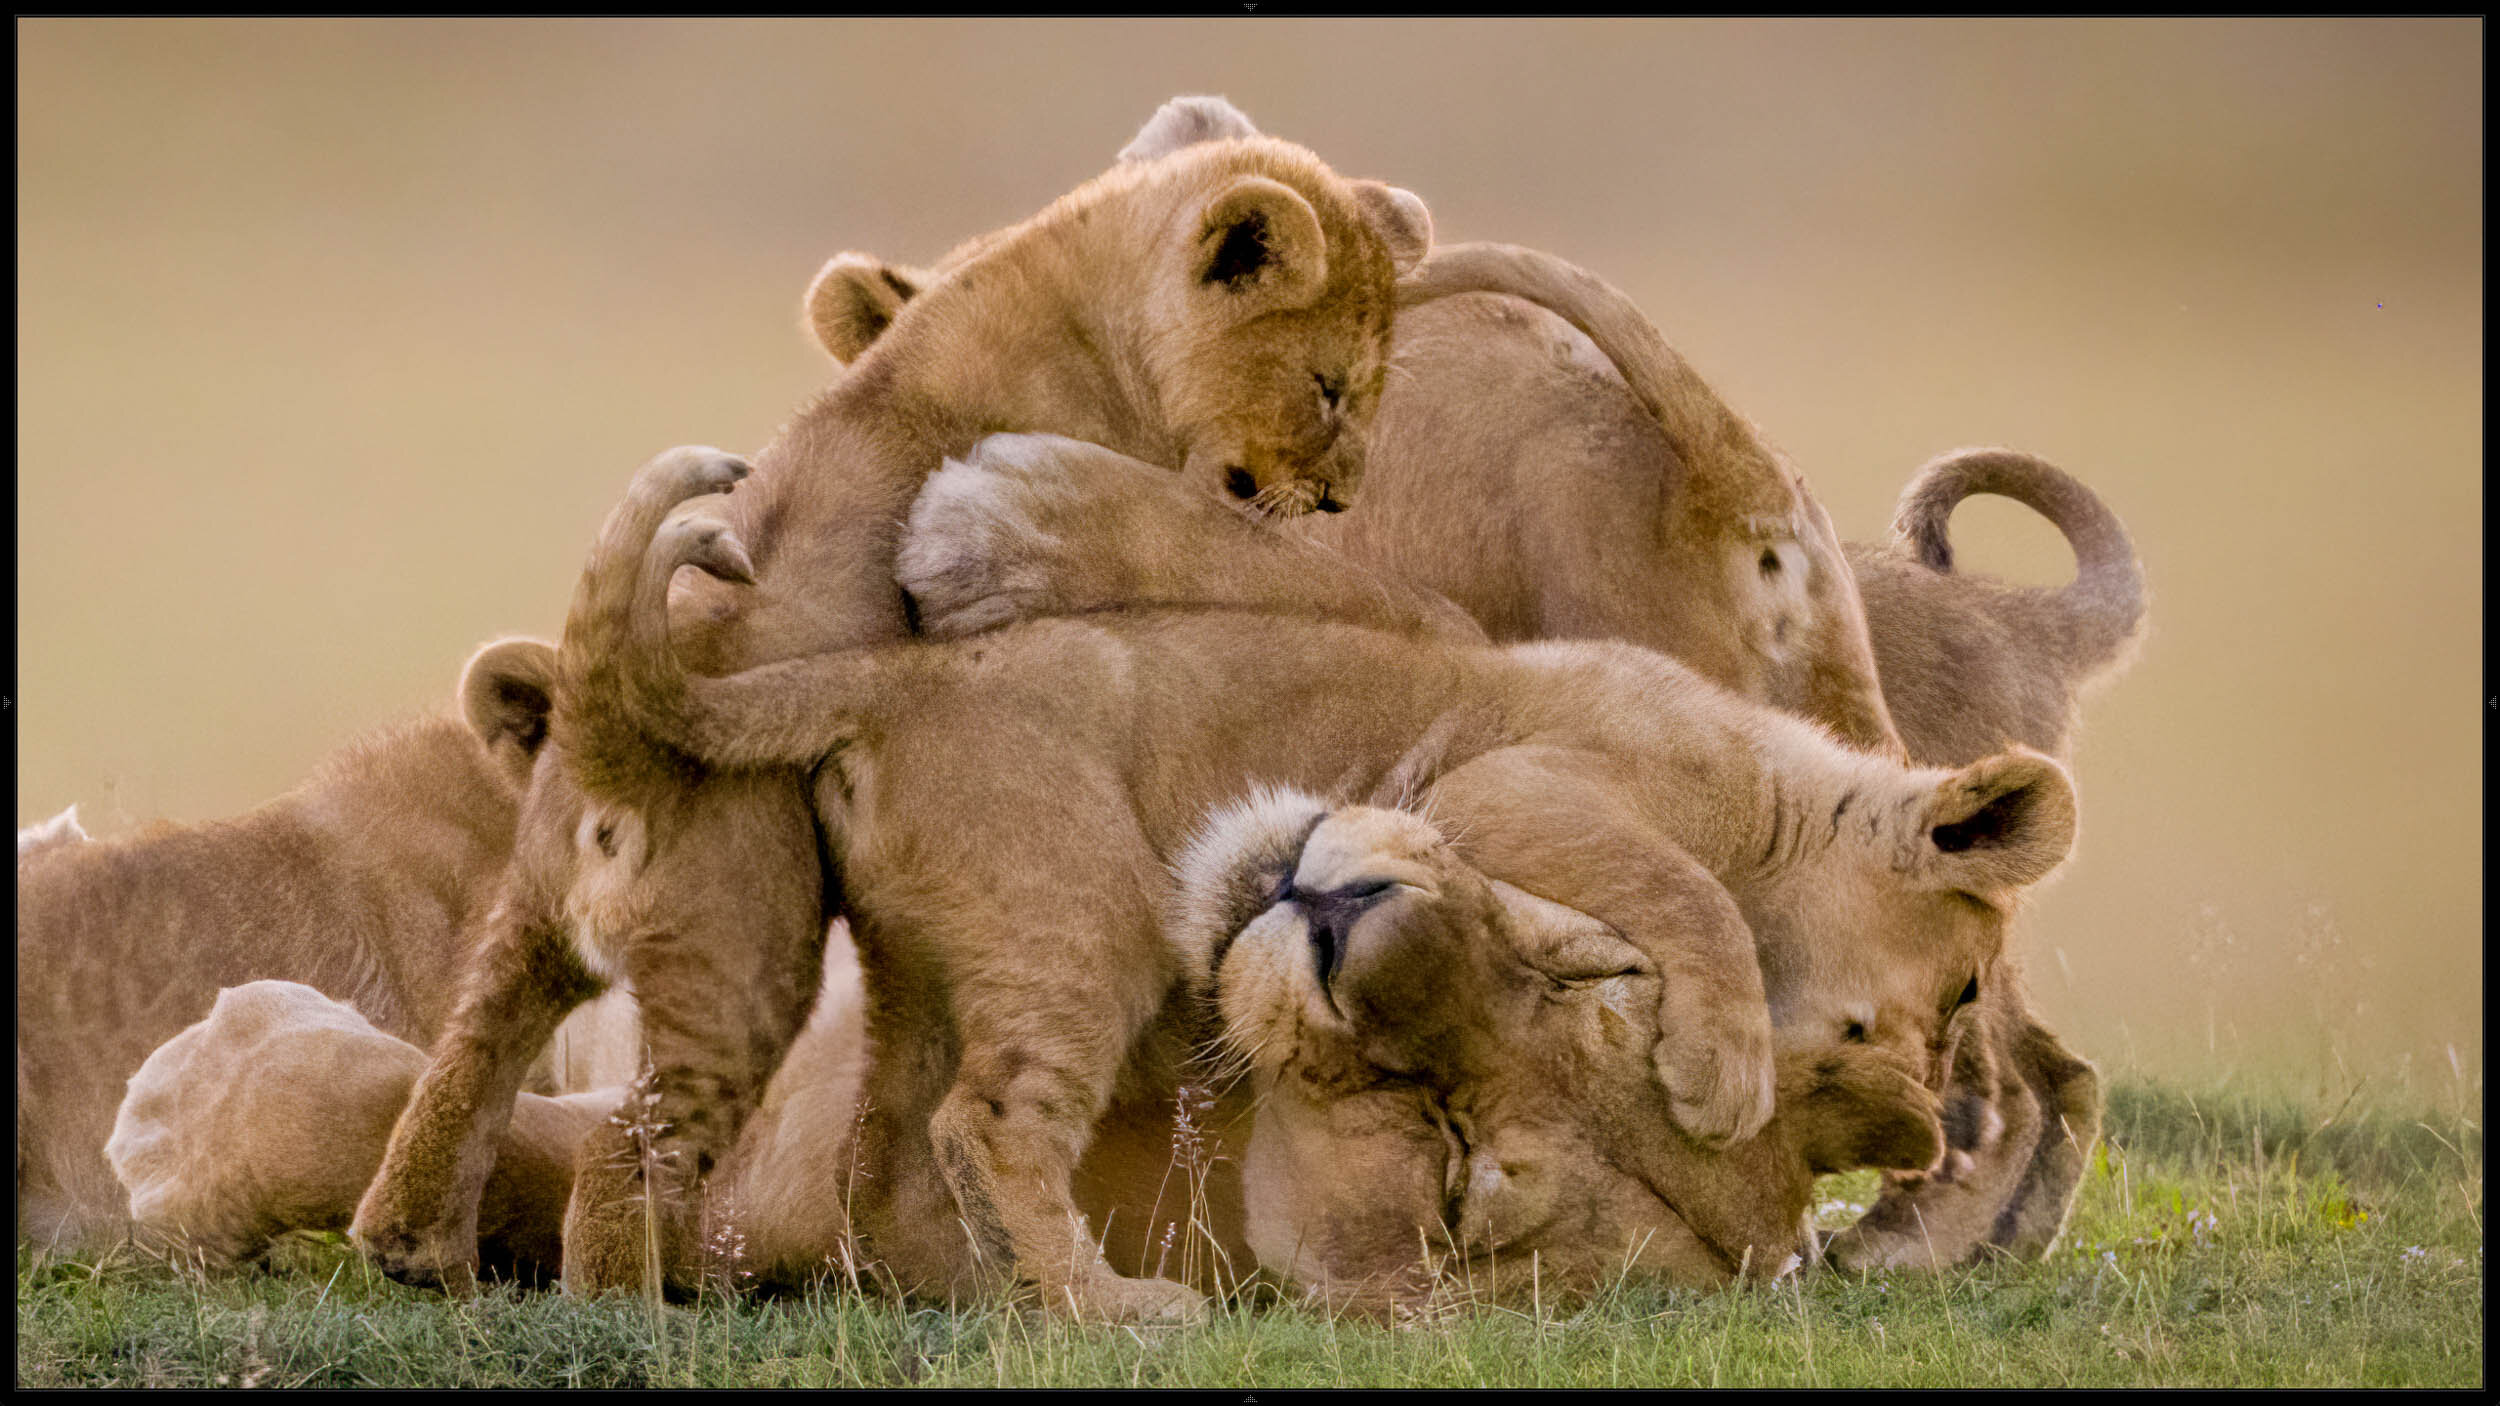
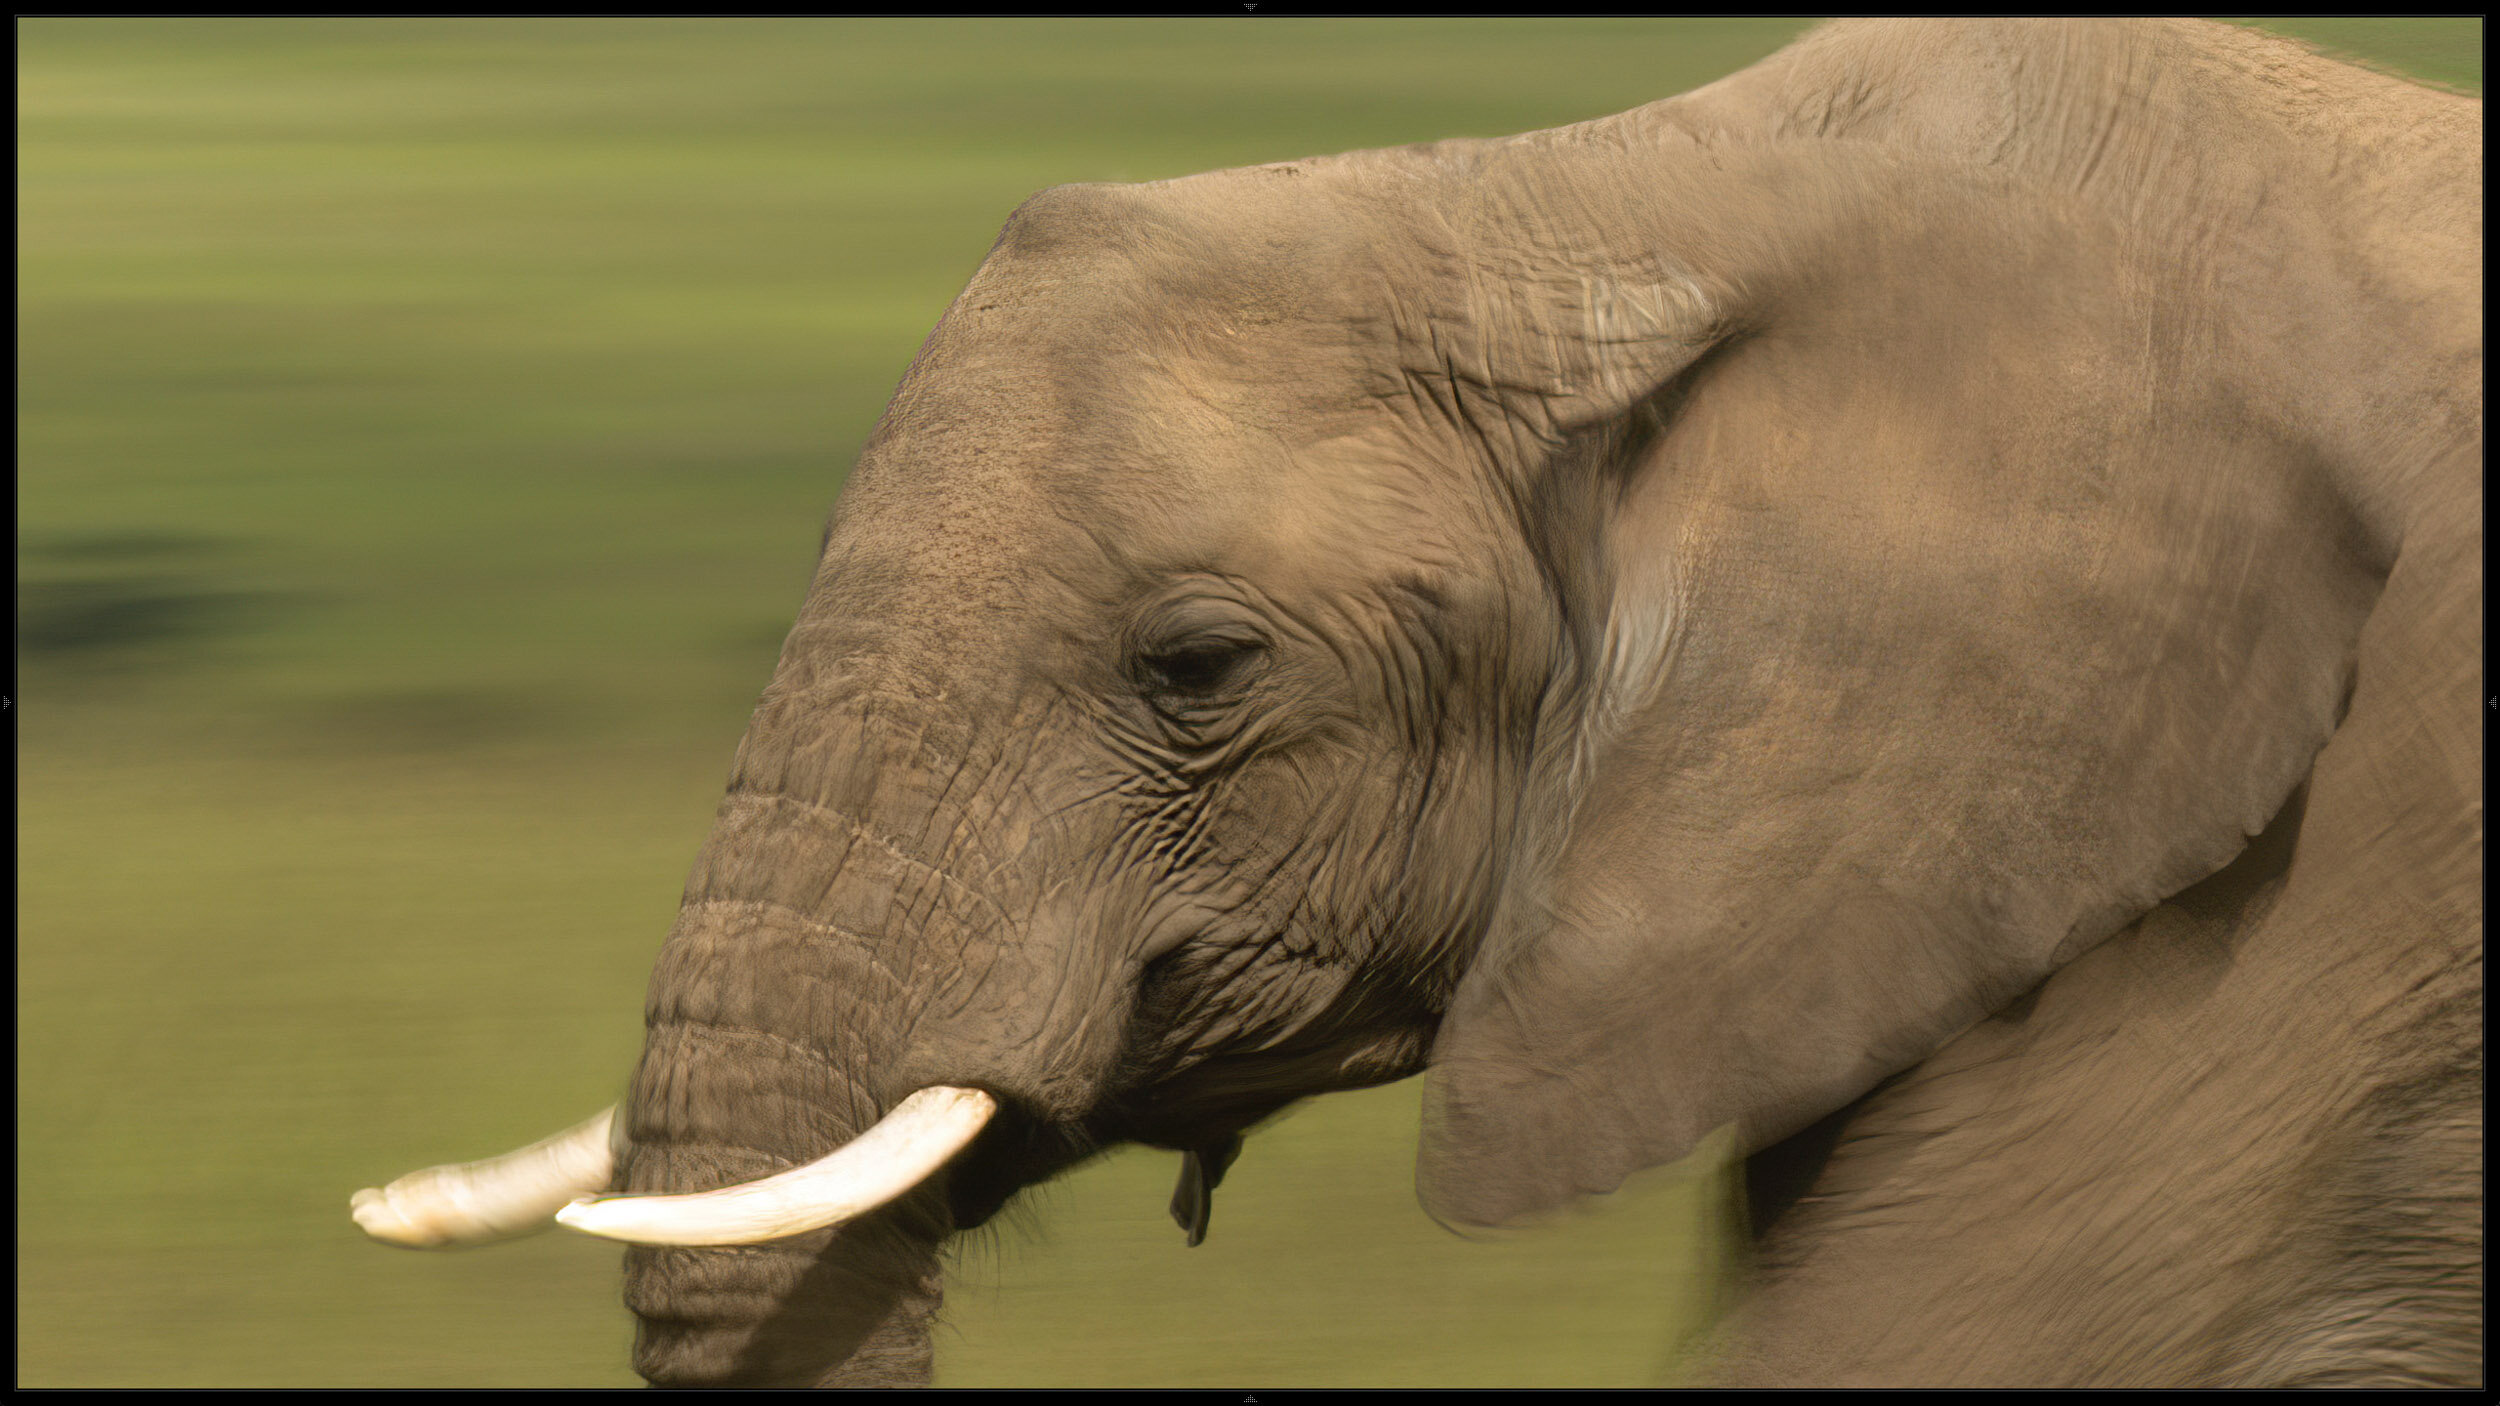
Have you ever taken a slow pan shot or used focus stacking? Have you taken macro shots of the insects in your garden or stayed up all night to photograph star trails? If you haven’t, maybe you need to experiment a little bit more!
First Impressions of Luminar Neo
I recently became an affiliate for Skylum’s Luminar Neo. This is post-processing software similar to Lightroom, and I thought I’d try it out to see what it was like.
A Lightroom Trick to Separate Subject from Background
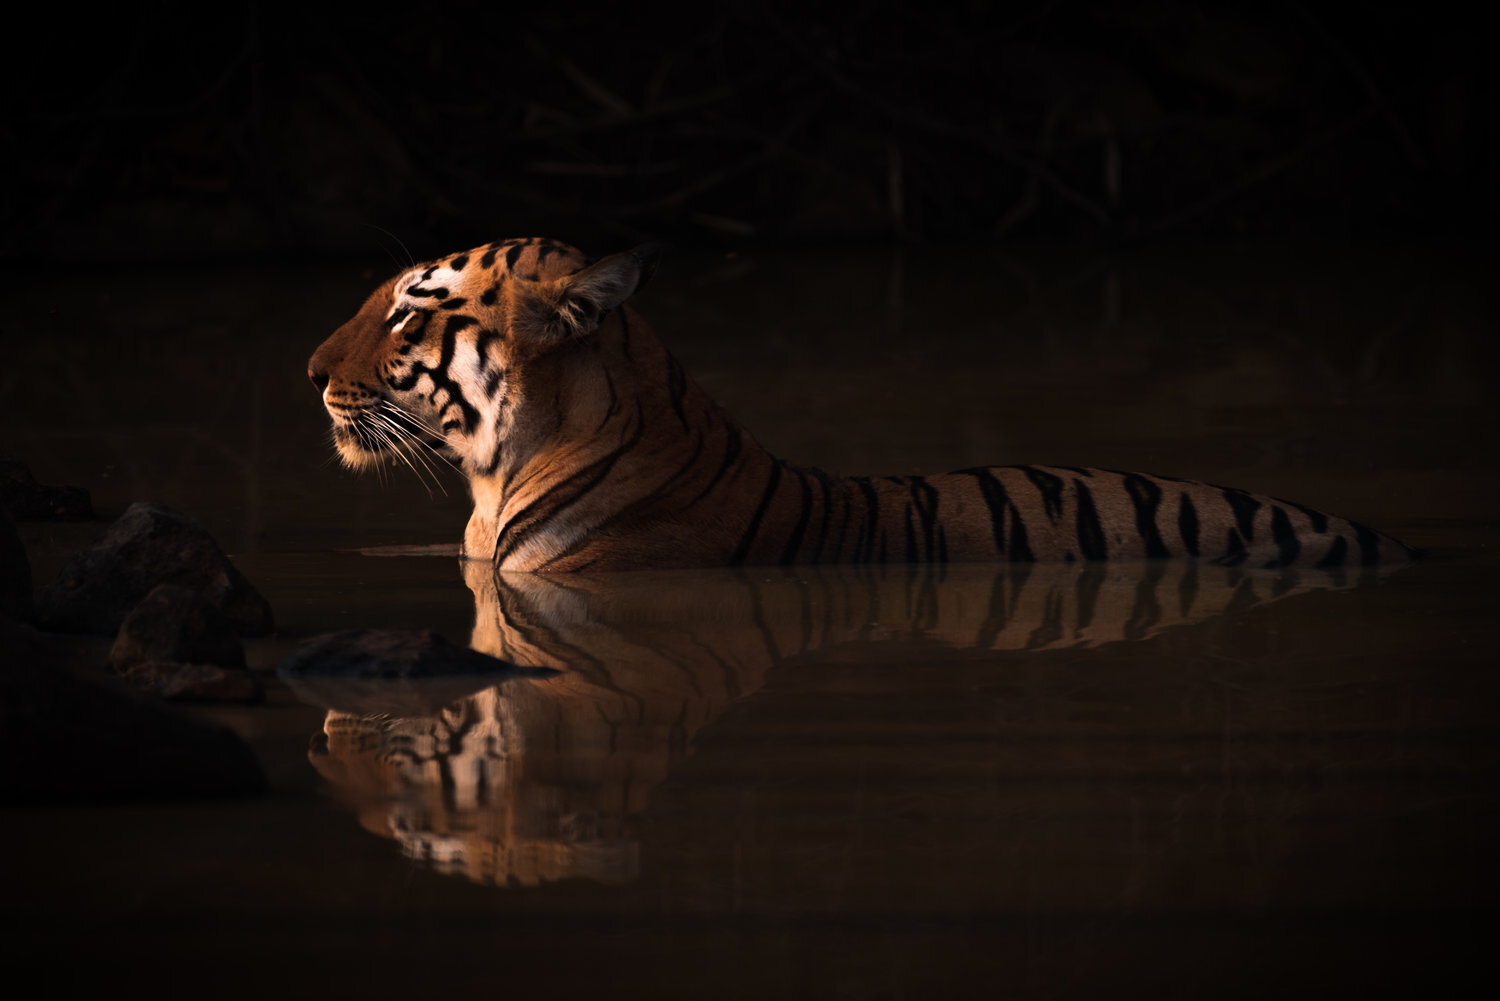
Photographs are flat, 2D images, but how can you make them appear three-dimensional? Inspired by a couple of videos by Matt Kloskowski and Steve Perry, here are a few Lightroom tricks to create depth by separating your subject from the background.
Bulk Editing in Lightroom
Wildlife photographer Paul Goldstein thinks I take too many pictures, and he’s probably right. I once took over 38,000 shots of seabirds on a cruise ship one afternoon in Antarctica! Personally, I blame my Sony a1’s high frame rate—I mean, what’s a poor photographer to do…?!

Lightroom presets
Everybody seems to be selling Lightroom presets these days, but I hardly use them.
The problem with ‘adopting’ someone else’s presets is that they probably won’t do what you want them to do. Yes, they could probably make a dramatic difference to some photos, but you lose control because they are almost always bundles of adjustments, not all of which are necessary.
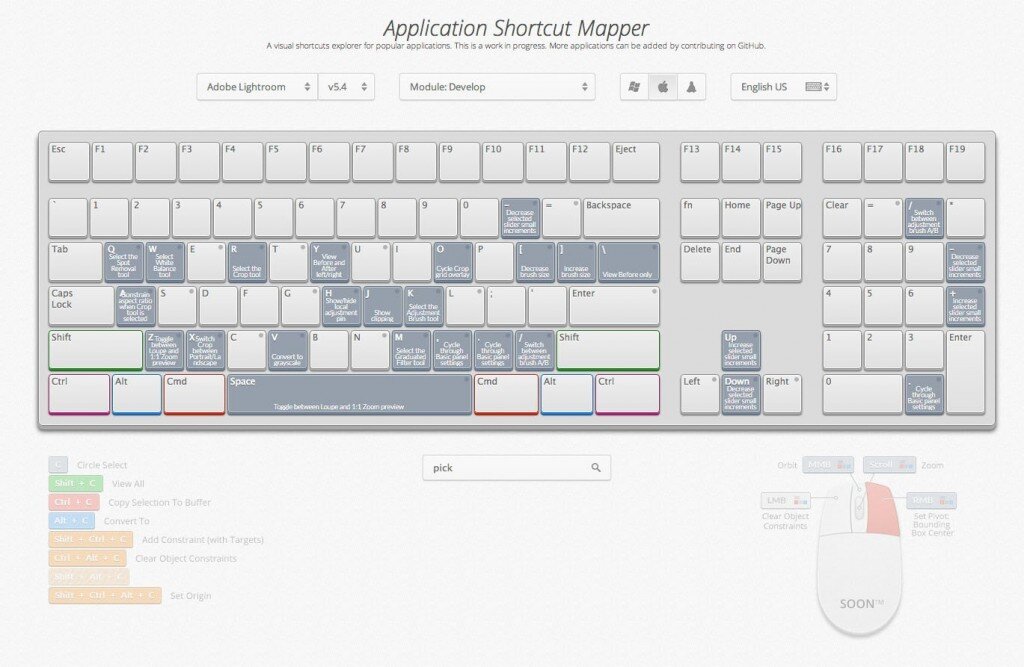
Lightroom shortcuts
I’ve just taken part in the Lightroom Virtual Summit, hosted by Matt Kloskowski and Dave Cross, and it inspired me to write a post about Lightroom shortcuts. I learned a couple of new ones while watching their series of videos, and I’m happy to share them all with you.
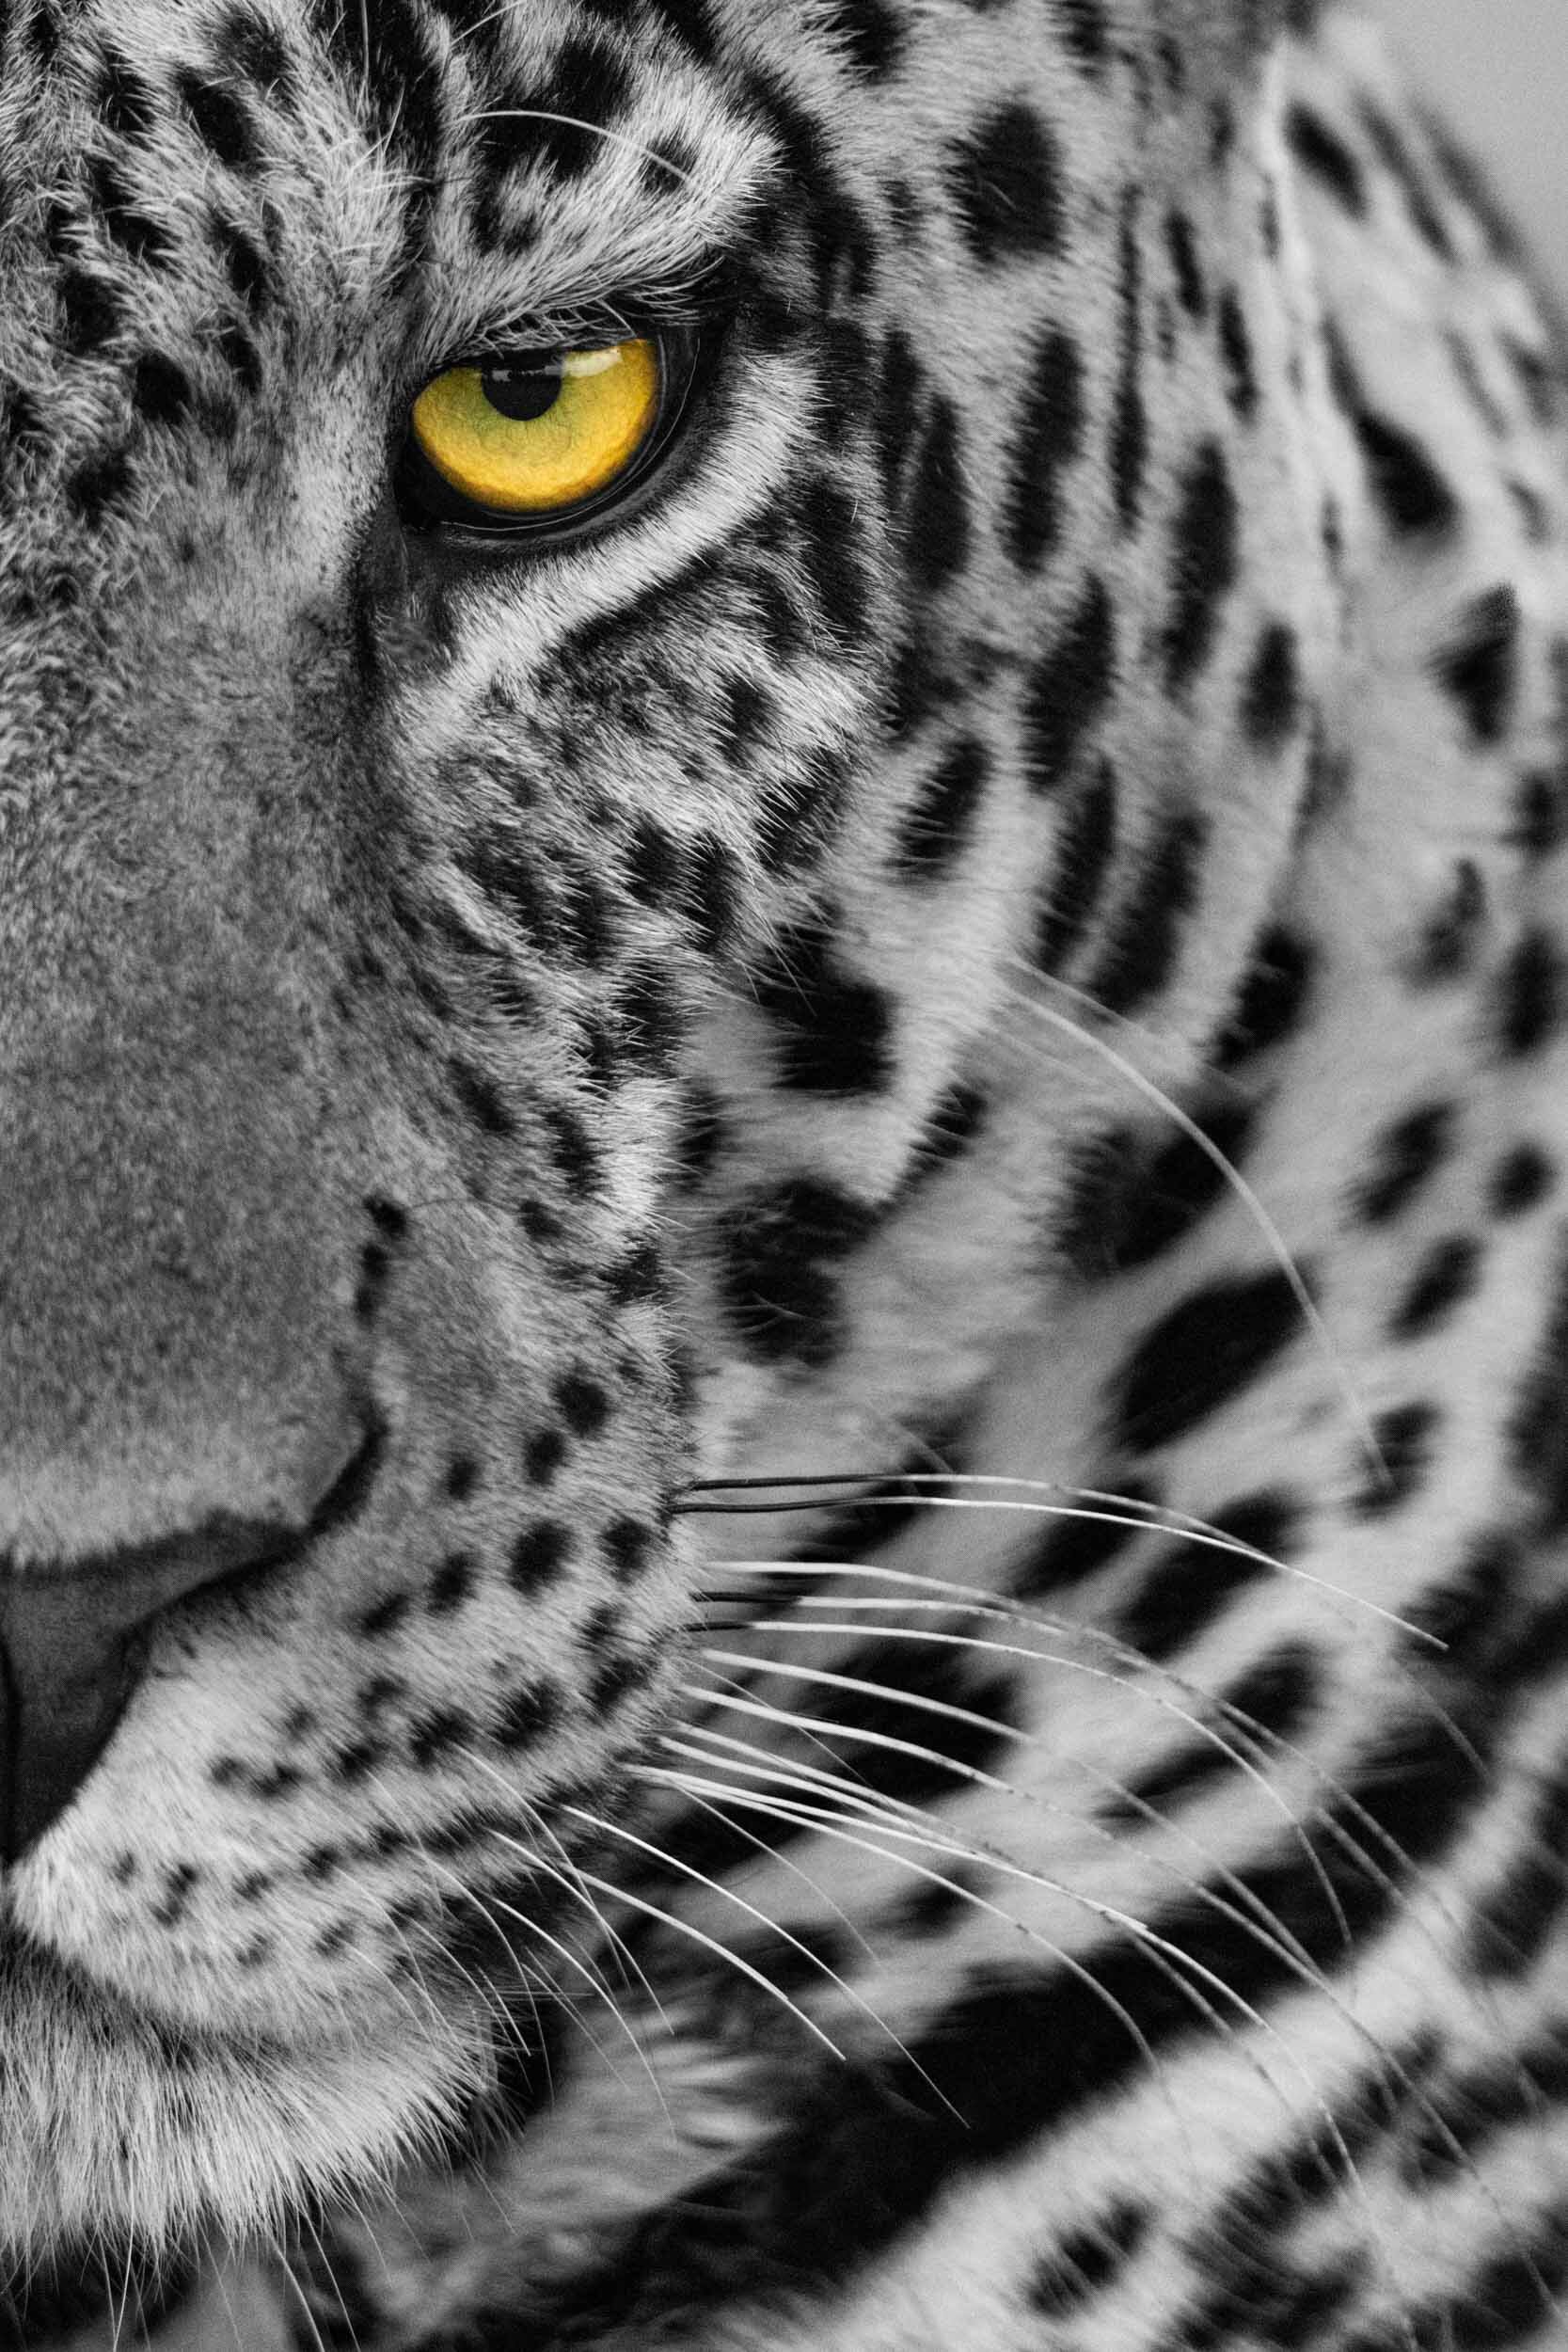
Selective colour
The advent of digital cameras led to a number of changes in photography, and one of those was the chance to create pictures using selective colour.
The basic idea is to turn a photograph into black and white and then highlight the key area by colouring it in again.

How to enlarge a photo
Gigapixel AI is the ‘ugly duckling’ of the Topaz Labs suite of software programs, but it can be just as useful as Sharpen AI and DeNoise AI if you need to enlarge an image, say for printing.
How to reduce noise
I’ve recently discovered the Topaz Labs suite of software products that includes Sharpen AI, Gigapixel AI and DeNoise AI. This article discusses how best to use the last of these.
How to sharpen an image
I use Adobe Lightroom for editing all my images, and it’s a very good program, so generally I have no complaints.
However, there’s one thing I never do in Lightroom, and that’s sharpening.
The problem is that ‘sharpening’ in Lightroom is not really sharpening at all. It’s contrast. And there’s a big difference.

Post-processing in Lightroom
There are two main steps I go through to edit my images:
1. Rating and adding metadata
2. Preparing for upload to stock agencies
Microstock upload procedure
I earn around 35% of my photography revenue from stock agencies and microstock sites. I started off submitting all my content at once to around 25 agencies, but I’ve gradually changed my workflow.

What has Lightroom Ever Done for us?
…Apart from cropping images, adding vignettes, changing highlights, shadows, whites, blacks, chromatic aberration, camera profile etc, etc, etc!
Lightroom workflow
A few years ago, I started doing all my photographic post-processing in Lightroom. It's the program used by most professional photographers and is reasonably user-friendly, I got to grips with Lightroom mostly by watching a very useful series of YouTube videos by Anthony Morganti, but this article is just a description of my basic workflow.
Lightroom settings
In the last year, I've started doing all my photographic post-processing in Lightroom. It's the program used by most professional photographers and is reasonably user-friendly, but the problem is choosing all the right settings.