
How to Photograph Cheetahs
With difficulty…!
It's All Downhill From Here
I’ve taken more photos of cheetahs than any other animal, so I thought it was about time I wrote about how to do it! Whether you favour portraits or action shots, here’s an expert guide to improving your cheetah photography…
Location

Kicheche Bush Camp
If you want to photograph cheetahs, the first thing you need to do is decide where to go.
According to the IUCN, cheetahs are officially ‘vulnerable to extinction’, and there are only around 6,500 left in the wild. For the best chance of seeing them hunt, you need to go to the open plains of the Serengeti in Tanzania or the Masai Mara in Kenya—ideally in one of the private conservancies where you can drive off-road.
Here are a few suggestions:
Kenya: Kicheche Camps, Lewa Wildlife Conservancy
Malawi: Majete Game Reserve
Tanzania: Singita Boulders, Singita Lebombo, Singita Faru Faru, Governors Camp, Kichwa Tembo, Namiri Plains, Phinda Vlei Lodge, Phinda Forest Lodge, Phinda Mountain, Samara Private Game Reserve (on foot), Chitabe Camp
In my opinion, the best place for cheetahs is Kicheche in the Masai Mara. The first time I went there, I saw five cheetah kills! Since then, I’ve been back three times, and I’ve always seen at least one kill—as well as many sightings of all the big cats.
My recommendation would be to go on an expedition to Kicheche with Paul Goldstein. He’s a part-owner of the camps and also an experienced tour guide and wildlife photographer. He runs annual trips to Kicheche with Exodus Adventure Travels, but you can also book privately to save money—as I do myself.
One of the key selling points of Kicheche is that they have highly qualified guides. All of them are KPSGA Silver-graded, and that makes a big difference when trying to track cheetahs. Your guides will know the names of all the cheetahs, how many cubs they have and when they last successfully hunted. They’ll also be able to put you in the best possible position to capture the action if you’re lucky enough to see a chase.
Equipment
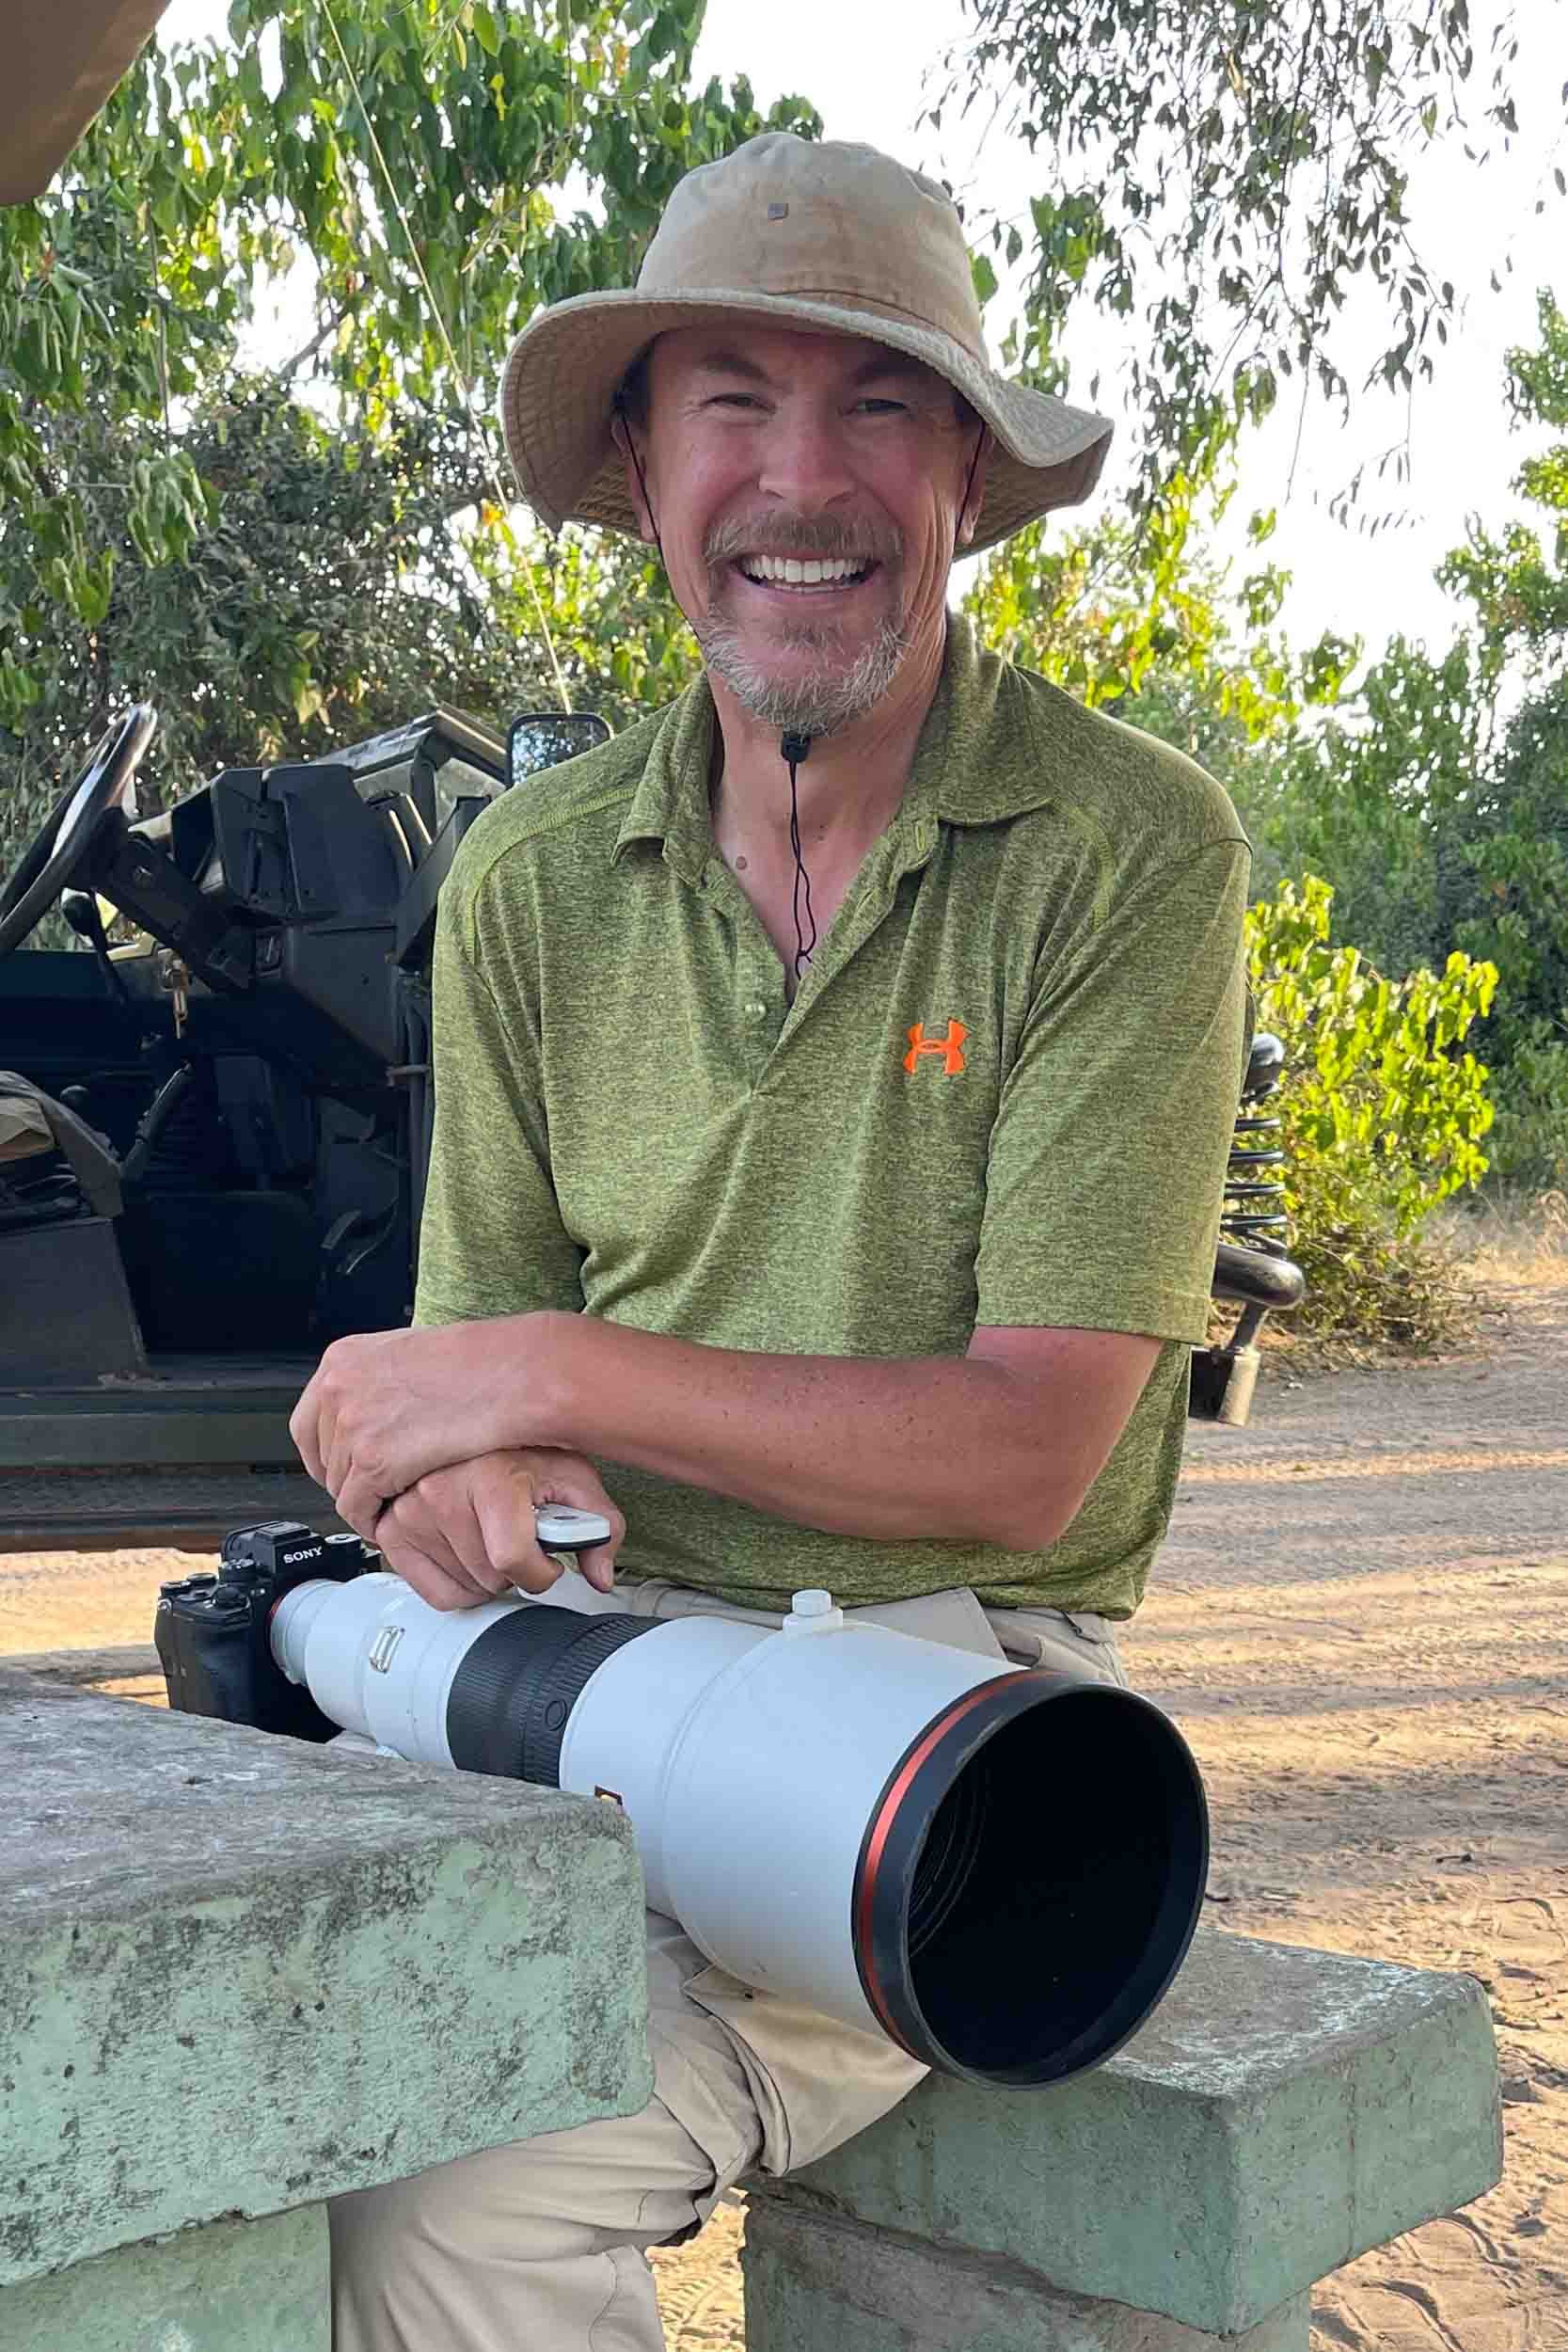
Posing with my old Sony ⍺1 and 600mm lens
I see many guests on safari who don’t even have a camera—other than the one on their smartphone! That’s not a great place to start. Smartphone cameras have improved a lot over the years, but they still don’t give you the sensor size, focal length and autofocus options you get with a DSLR or mirrorless camera.
Let’s have a look at the ideal cameras and lenses you need for photographing cheetahs…
Cameras
When I bought my first DSLR, I asked for advice from a friend who was a professional photographer. He told me to go with Nikon or Canon. These days, you might want to add Sony to that list, but the point remains the same. There are only a few major brands at the top of their game when it comes to photography, so it’s sensible to stick to the top three.
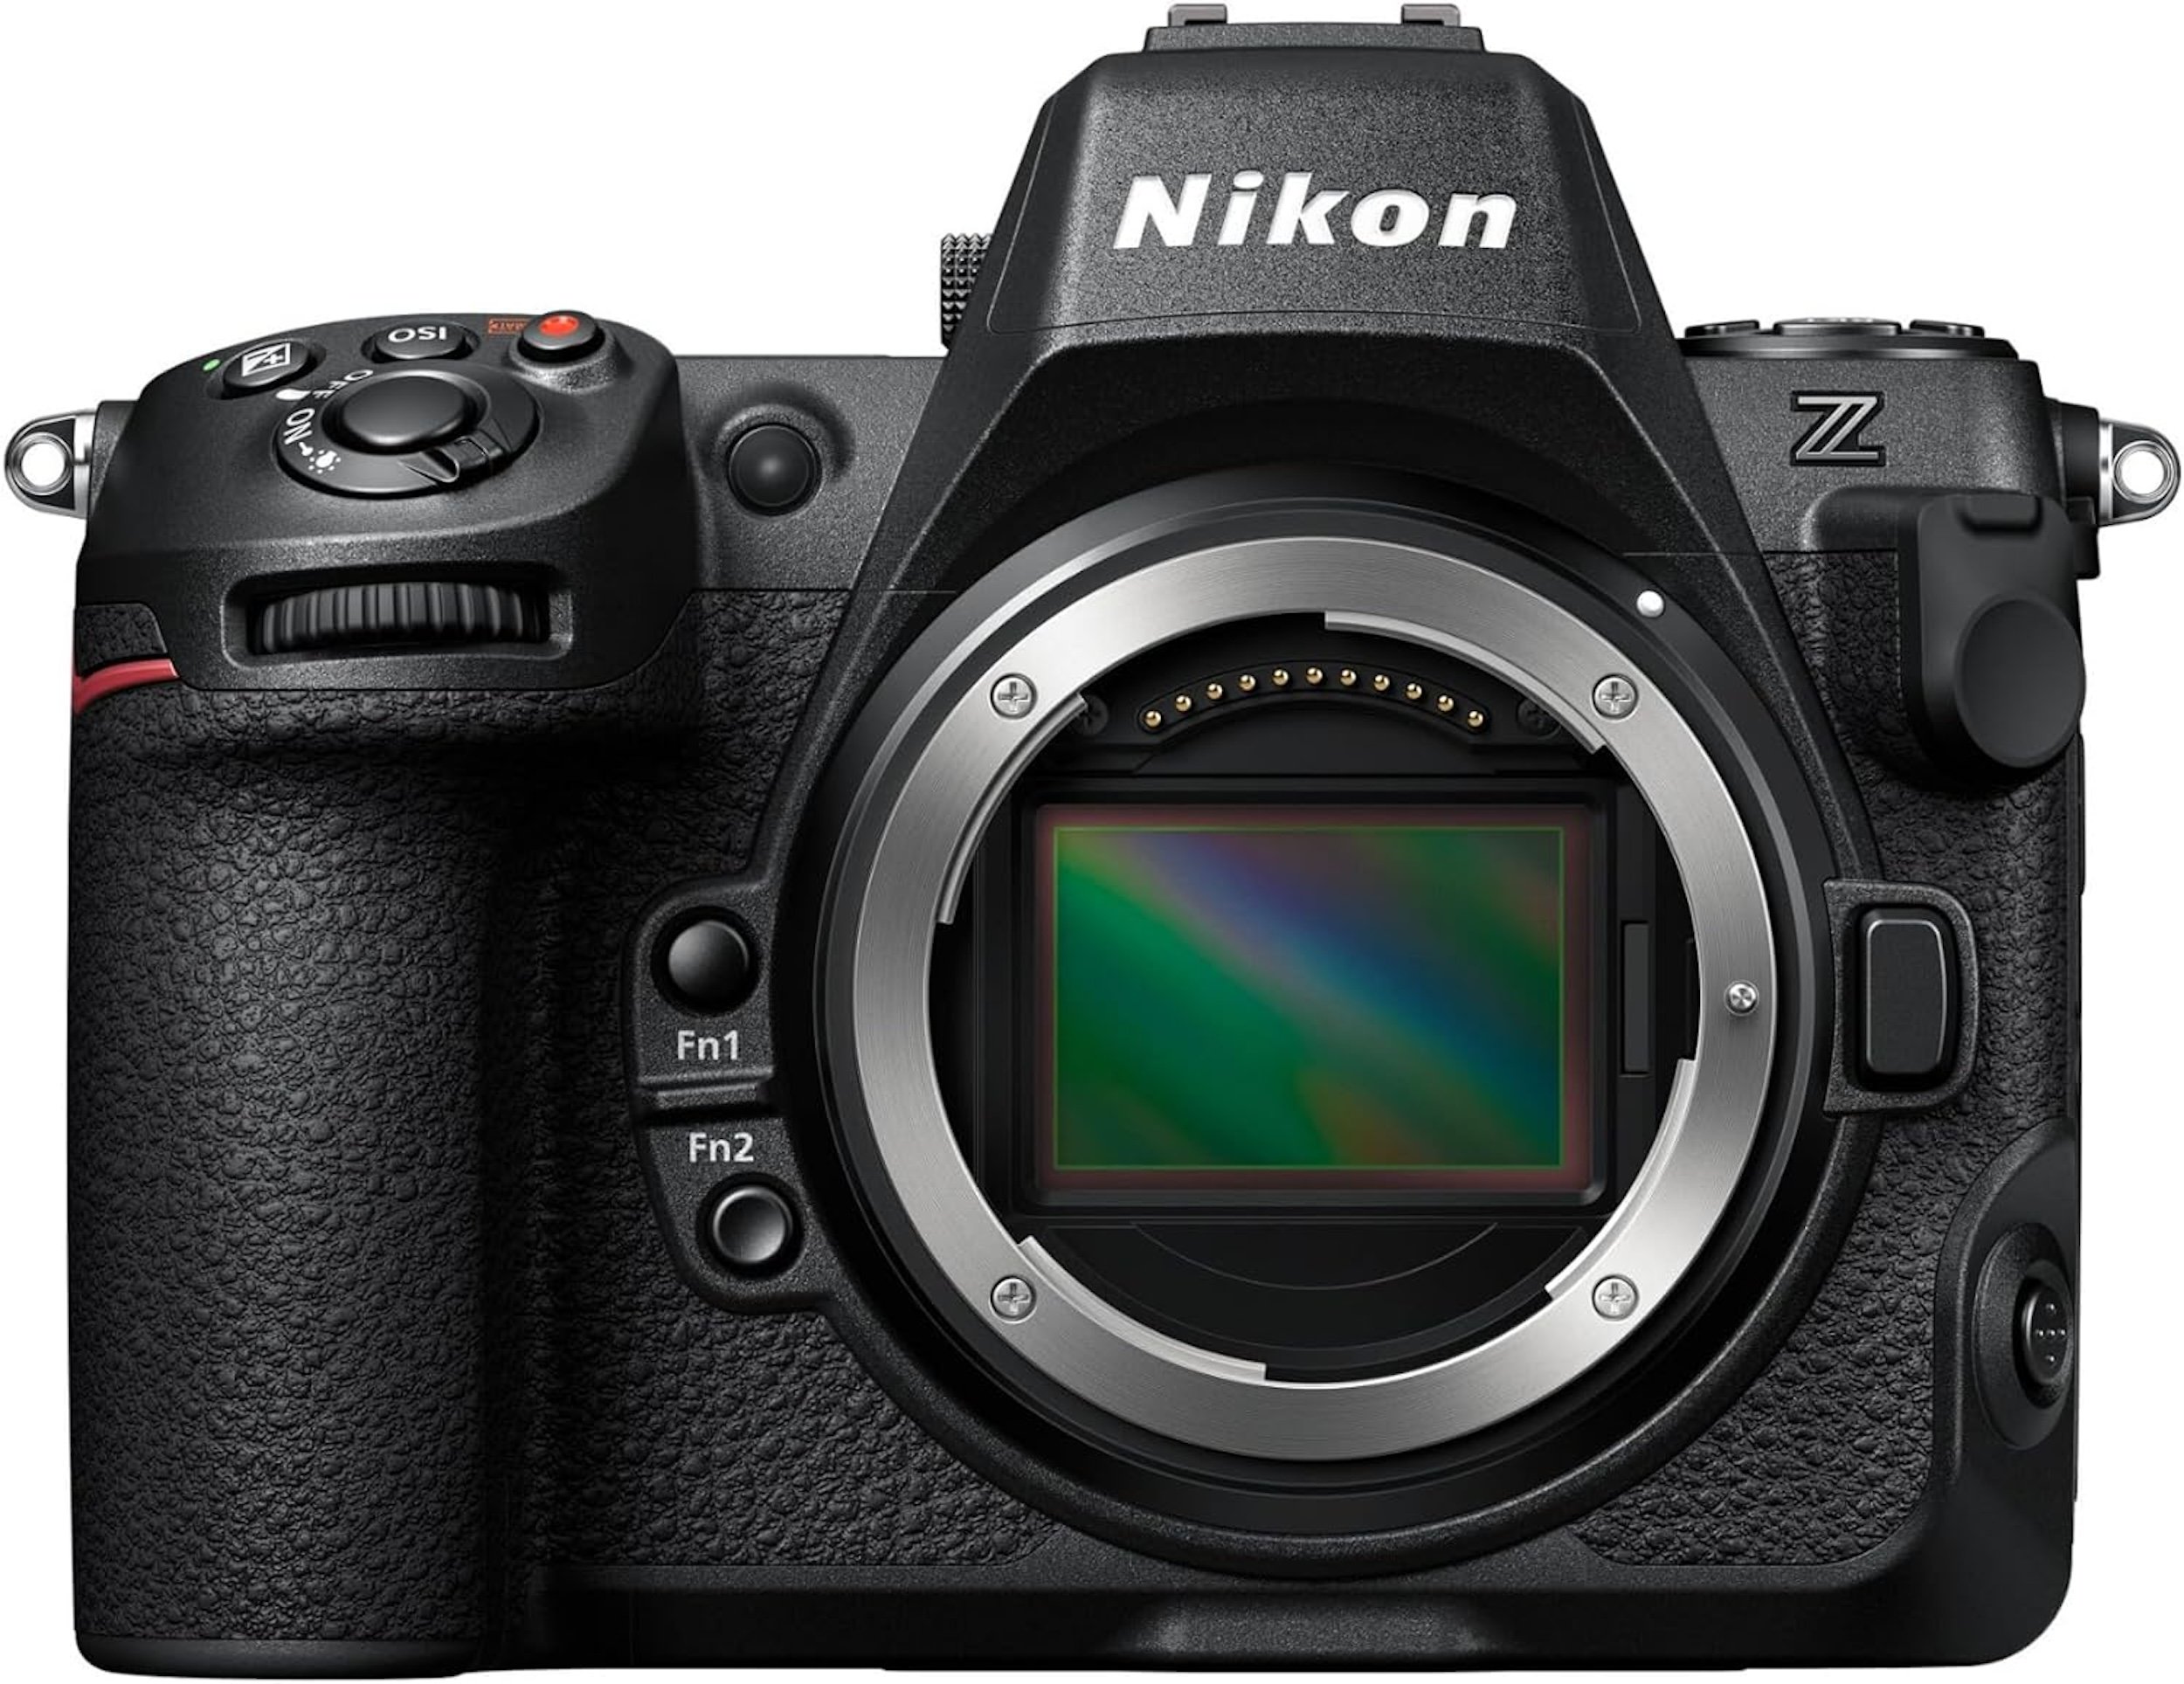
I started with Nikon cameras, going through the D800, D810 and D850 series before upgrading to two Sony ⍺1 camera bodies. Recently, I swapped one of my ⍺1s and most of my lenses for a Nikon Z8 and a NIKKOR Z 600mm f/4 TC VR S lens. There are two good reasons for that:
Pre-release capture
Built-in 1.4x teleconverter
Pre-release capture is essential for capturing birds in flight, but it’s not very useful for photographing cheetahs. However, the built-in teleconverter is a lifesaver! It means you only need to carry one lens with you rather than two, and it’s the simplest thing in the world to flick the switch to go from 600mm to 840mm—which means nearly 17x magnification!
I’m obviously a professional photographer, so I can justify spending thousands on new equipment, but what if you’re just a hobbyist or a part-timer? Well, photography is all about trade-offs, so let’s take a look at the major features you should be looking for in your camera.
A large sensor
Size isn’t everything, of course, but having a full-frame (35mm) sensor with at least 20 or 30 megapixels is pretty much essential.
The larger the sensor, the better your low-light performance and the less noise you’ll have in your images.
The more pixels you have, the more detailed the image can be and the more you can crop in on your subject. My D810 had 36.3MP, and my D850 and Z8 45.7MP, but my new Sony ⍺1 has 50MP. ‘Nuff said.
A high frame rate
This allows you to take several bites at the cherry.
Even if you’re only taking a portrait, it’s always worth taking a burst rather than just single shots. Birds behave erratically, and you don’t want to miss the shot because they closed their eyes or turned their heads at the crucial moment!
That goes double for action shots. The higher your frame rate, the higher your chances of getting great shots – particularly when you’re using a slow shutter speed or taking pictures of a bird taking off.
When I had DSLRs, I was a Nikon man, but the frame rates were dreadful! My old D800 could only manage 4fps, my D810 5fps and even my D850 only 7fps—unless I used my MB-D18 battery pack, which boosted it to 9fps. Even the Canon EOS-1D X Mark II could only give you 14fps with full autofocus. Sigh…
Fortunately, the mirrorless revolution has solved that problem for millions of photographers. My Nikon Z8 shoots at 20 fps (or up to 120 fps in JPEG), and my Sony ⍺1 can manage 30 fps—albeit in lossy compressed format.
Back button focus (BBF)
If you have a DSLR, having to press the shutter to activate your camera’s autofocus is not very convenient if you don’t want to put your subject in the central focus area. As soon as you half-press the shutter, the camera will try to focus, but if your subject is towards the edge of the frame, it won’t be able to find it!
With back button focus, keeping your thumb pressed on the AF/AE lock button allows you to keep the autofocus active even while you’re shooting a burst of frames, and if you just press it once and let go, that will lock the exposure so that you can focus and recompose.
BBF is less important with mirrorless cameras because they have eye detection and tracking. That means you can half-press the shutter and the camera will automatically acquire focus and track your subject—most of the time! You still need to choose the right focus area, so the camera isn’t distracted by leaves and branches, but that’s a separate issue. In addition, the focus area usually takes up almost the entire frame, so there aren’t any ‘blind spots’.
Continuous autofocus (Nikon’s AF-C mode or Canon’s AI Servo)
There are lots of very complex mirrorless autofocus systems, some of which can automatically detect and track the eye of an animal in motion, but the very least you need is some sort of continuous autofocus.
There are many different options, but the one I prefer on Nikon cameras is AF-C 3D, which, as you might imagine, allows you to track a cheetah in three dimensions—whether you have a DSLR or a mirrorless camera.
In general, mirrorless cameras tend to have zones of different sizes while DSLRs have collections of spots in the central area, so this is an area where mirrorless has the advantage.
Subject detection
The most important feature that you can only get with a mirrorless camera is subject detection and tracking. Mirrorless cameras can now automatically locate and track the eye(s) of your subject, whether it’s a person, an animal, a bird, an insect, an aircraft or a car!
Sony’s AF system is probably the best on the market—especially if you get a recent model like the ⍺7R V or the ⍺1 II. However, you still need to tell most cameras what type of subject you’re shooting—which can be a pain!
Exposure compensation button
Exposure compensation isn’t that important for cheetah photography, but there are often times when you need it. Cameras are programmed to think that the world reflects 18% of the light that falls on it, but even though that works on average, there are often situations when they’ll get fooled into over- or underexposing—such as a polar bear on an iceberg or a black bear in the forest.
One way to stop that from happening is to use a stop or two of positive or negative exposure compensation. There are other ways, too, but it’s always nice to know your camera has that option. The Sony ⍺1 even has a dedicated exposure compensation dial.
Auto ISO
My default wildlife shooting mode is manual with auto ISO.
Unless I’m taking a slow pan shot in bright light, when I have to set the ISO manually to get the extended value of 31 on my Z8, I use auto ISO so that I devote my attention to the aperture and shutter speed.
Those are the important settings that control motion blur and depth of field whereas a high ISO simply degrades image quality slightly by adding noise (grain) and reducing sharpness, contrast and colour saturation. Modern cameras cope much better with high ISOs, and Lightroom and Photo AI let you ‘rescue’ noisy images, so you shouldn’t really need to worry about anything under 3200 or 6400 ISO.
Lenses
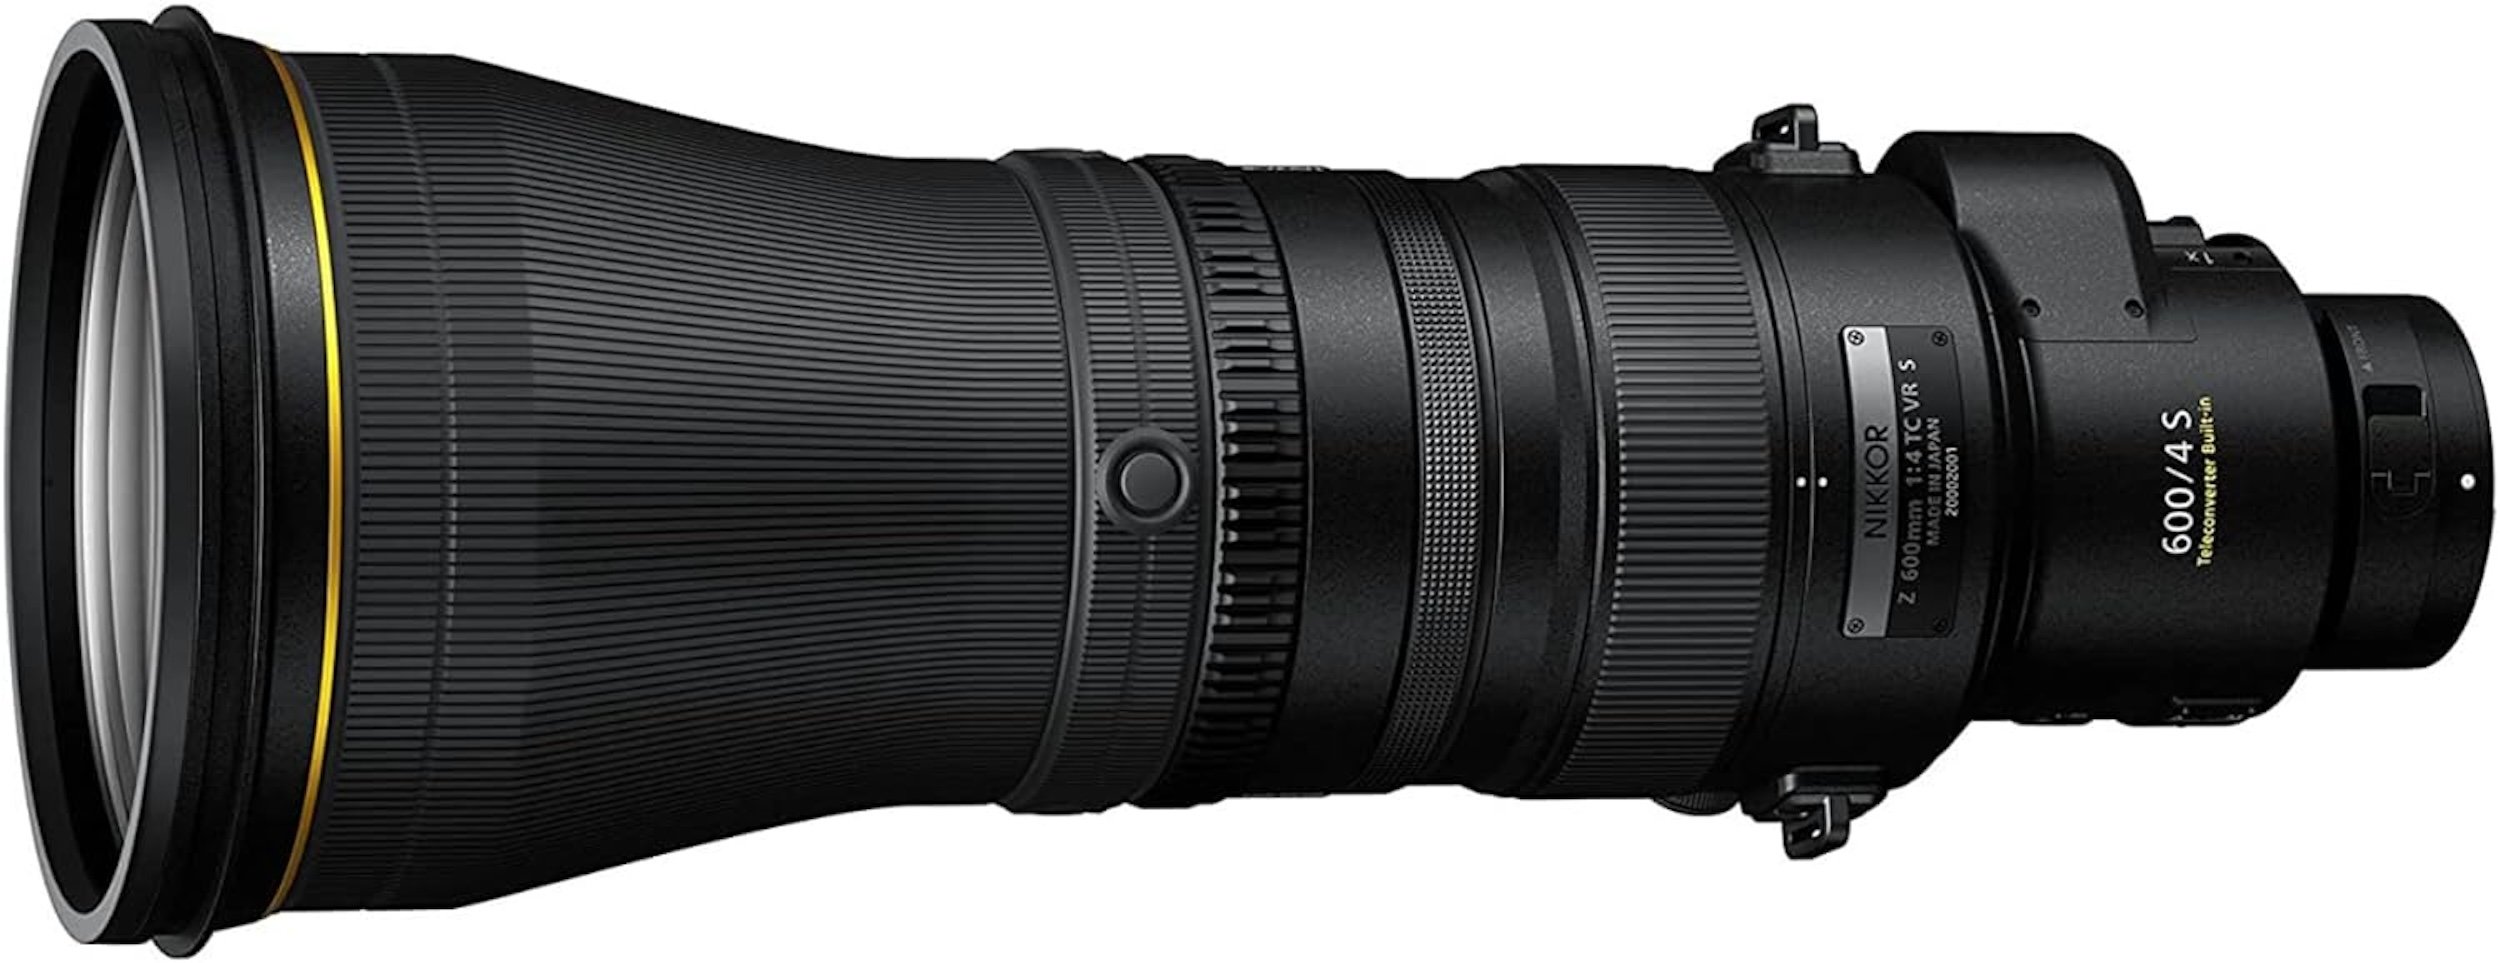
NIKKOR Z 600mm f/4 TC VR S
DSLRs
If you’ve gone the full-frame DSLR route, then you’ll need a minimum of a 400mm lens to give you the chance of great cheetah shots—especially when they’re hunting. It’s usually impossible to change the position of the vehicle in the middle of a chase, so the range of your lens is crucial.
That focal length is a bit of a watershed in terms of weight and price: anything over 400mm is likely to be very heavy and very expensive!
My two favourite wildlife lenses used to be my Nikon 80-400mm f/4.5-5.6G VR and my Nikon AF-S 800mm f/5.6 E FL ED VR, which had a dedicated 1.25 teleconverter that increased the effective focal length to 1000mm.
I used to put the 80-400mm on my D810 and the 800mm on my D850. The shorter lens gave me the flexibility to zoom in and out to get the best composition while the ‘big dog’ let me fill the frame even if the cheetah was the length of a cricket pitch away.
The only downside to having these two lenses was the cost: I had to shell out over £1,000 for the 80-400mm, and the 800mm was over £15,000…!
Price is obviously an issue here, and there aren’t many photographers who can easily afford such expensive lenses, but it’s easy enough to rent a long lens for a short trip, and that’s what I did for several years before buying my own.
If you’re a Canon user, you might consider the old Canon EF 200-400mm f/4L IS USM L Series with a built-in 1.4x Extender. It used to be around £10,000 to buy new, but you could rent one for a week from Lenses For Hire for £417.
Mirrorless
If you have a mirrorless camera, then you’re lucky! Mirrorless cameras and lenses are generally smaller and lighter because there’s no need for a mirror, and Sony, Nikon and Canon are launching more and more lenses all the time.
Sony has been making full-frame mirrorless cameras the longest, so it offers the widest range of lenses. However, it doesn’t have any telephoto with a built-in teleconverter, which is a great shame. If that’s what you’re looking for and you’re a Nikon user with an unlimited budget, you could do what I did and buy the 600mm lens with the 1.4x teleconverter. If you’re a Canon user, you’re stuffed…!
Types of Shot

Cub Scouts
You’ll need to use different settings and techniques to photograph cheetahs, depending on whether you’re taking portraits or action shots. Here are a few examples with recommended settings for exposure mode, shutter speed, aperture and ISO.
I normally shoot wide-open at 1/1000 of a second in manual mode with auto ISO, but all that goes out the window for a slow pan…!
Portraits

Cheetahs Never Win
Exposure mode: manual with auto ISO
Shutter speed: 1/500-1/1000 (except in very low light)
Aperture: wide open (ie f/2.8, f/4 or f/5.6, depending on the lens)
ISO: n/a (but ideally <3200)
There are many ways of taking a cheetah portrait, but there’s nothing wrong with this kind of ‘classic’ shot (see above) that shows the cheetah in a pretty pose—ideally in good light and with no distractions in the background!
However, there are a few ways to make things more interesting…
Cubs

"How 'Bout Them Cubs?"
Exposure mode: manual with auto ISO
Shutter speed: 1/500-1/1000
Aperture: wide open
ISO: n/a
Cute goes a long way, and cheetah cubs are very cute! The youngest I’ve seen were only three weeks old, and they were so skittish that I had to be incredibly careful when I changed position as the slightest sound or movement would send them scurrying for shelter behind Mum!
You can photograph cubs on their own or with their mother. Each approach has its virtues, but the benefit of having the adult in the frame is that it shows the crucial mother-child relationship. You might choose to show that by capturing a particular pose (see above) or something the mother does, such as grooming her offspring.
There isn’t much more to say, really. Just look out for cubs and, however you end up photographing them, make sure you disturb them as little as possible and try to show their relationship with their mother.
Blurred Foreground
Blur
Exposure mode: manual with auto ISO
Shutter speed: 1/500-1/1000
Aperture: wide open
ISO: n/a
If you want to see cheetahs, the best place to go is Sub-Saharan Africa. However, the national parks usually stop you from driving off-road or leaving your vehicle, and that makes things more difficult. Guides will sometimes bend the rules, though, and I usually adopt a policy of ‘don’t ask, don’t tell’: I don’t ask to go off-road, but I don’t tell anyone if we do!
Safety is important, of course, but it all depends on the particular situation. If you have a certain shot in mind that means you have to lie down on the ground, you can always ask your guide or driver. If you get permission, it’s fine. If you don’t, you’ll just have to wait.
One shot that can work very well but can’t really be taken from a vehicle is this one (see above). The idea is to shoot through long grass to create a blurred foreground. This gives the impression that the cheetah materialises out of nowhere!
If the circumstances are right and your guide is happy, you might be able to climb out of your vehicle (on the side facing away from the cheetah) and lie down underneath. You can then shoot a few bursts through the grass.
The difficulty here is acquiring and maintaining focus. AF systems struggle with foreground objects such as long grass, so you have a couple of options:
Choose a single focus point or the smallest possible focus area and try to place it on the cheetah’s eye.
Focus manually.
I don’t really trust manual focus, so I’d tend to use the AF system if possible. However, it does help to take fairly long bursts. It’s a lottery, after all, so you need to buy as many tickets as you can!
Bad Weather

It Never Rains but it Pours
Exposure mode: manual with auto ISO
Shutter speed: 1/160
Aperture: wide open
ISO: n/a
In the good old days, you could pretty much guarantee decent weather in Africa by avoiding the Short Rains (in October/November/December) and the Long Rains (in March/April/May). However, the climate seems to have gone crazy in the last few years, and when I went to Kicheche in January 2024, it rained every single day!
Now, some people might not enjoy flooded fords, muddy walks and electric storms (!), but the rain does have one advantage: you can take different kinds of portraits. You’re no longer limited to the ‘classic’ look of the sunburnt savannah. Instead, you can show a cheetah and her cubs in the pouring rain (see above) or capture close-ups of telling details like a drop of water on the end of a cat’s nose.
If you are shooting in the rain, the biggest choice you have to make is your shutter speed. A fast one will isolate all the individual, round raindrops while a slow one will reduce them to thin, greyish streaks. To avoid either extreme, I find the best shutter speed is around 1/160 of a second. That gives you attractive ‘Goldilocks’ streaks that are neither too long nor too short.
Yes, you might get thoroughly sodden and miserable on the odd game drive, but you sometimes need to suffer for your art! After all, as Alfred Wainwright once said, “there’s no such thing as bad weather, just unsuitable clothing…”
Action Shots
Wet and Wild
Exposure mode: manual with auto ISO
Shutter speed: 1/1000-1/2000
Aperture: wide open
ISO: n/a
All other things being equal, most people probably prefer an action shot to a portrait. However, you don’t see much action on a typical game drive—especially when it comes to cheetahs. They generally tend to lie around in the shade, and even if they’re walking around looking for prey, it might take them a long time to find it!
That means wildlife photography is a bit like being in the army: it’s 99% boredom and 1% excitement! That’s why you need to be patient. You should know that you won’t get very many opportunities to take action shots, which means they’re like gold dust—rare and therefore incredibly valuable—so you need to make the most of them.
In fact, you could say it’s an example of the Pareto effect: 99% of your best shots will probably come from the 1% of the time when your subjects are actually doing something—either play fighting, climbing, mating or hunting.
Walking

Strider
Exposure mode: manual with auto ISO
Shutter speed: 1/50 or 1/1000
Aperture: wide open
ISO: n/a
Cheetahs often walk for miles looking for prey or avoiding lions, leopards and hyenas. If you want a good photograph of a walking cheetah, here are a few pointers:
Get down to eye level—either by opening the jeep door, poking a monopod over the side or parking downhill from your subject.
Choose a slow or fast shutter speed—slow if you want some motion blur in one paw, say, but fast if you want to freeze the action.
Go long. If you drive 50-100 yards in front of the cheetah, you’ll be able to photograph (or film) it walking straight towards you.
Look for an interesting background (see above). The fact that the Thomson’s gazelles are watching the cheetah walk past adds an extra dimension of threat and excitement to the image.
Jumping
"You should see me run..."
Exposure mode: manual with auto ISO
Shutter speed: 1/1000-1/2000
Aperture: wide open (or f/16 for an environmental portrait)
ISO: n/a
Cheetahs have an almost pathological need to climb trees or jump on top of dead logs, so you can often take advantage of that by driving to a dead stump in advance and waiting for the cheetah to arrive.
When cheetahs jump, they move quite fast and unpredictably, so it’s wise to dial in your maximum frame rate and a fast shutter speed. The shutter speed is particularly important as you don’t want to end up with a soggy mess! Paul Goldstein sometimes says, “If you’re going for a s**t, lock the door!” That means you need to go the whole hog and use a shutter speed of 1/2000 of a second, say, rather than 1/500.
If you want to make sure you don’t miss the crucial moment, you can always turn on pre-release capture (if your camera has it). That way, you can simply wait for the cheetah to jump and then press the shutter at your leisure, knowing that you already have the shots in the buffer…
Play Fighting
Sibling Rivalry
Exposure mode: manual with auto ISO
Shutter speed: 1/1000-1/2000
Aperture: f/8-f/16
ISO: n/a
Cheetah cubs learn by copying their mother, and they spend an awful lot of time doing to one another what they’ll eventually be doing to a gazelle or impala, ie chasing, tripping, biting and slapping!
When photographing cubs play fighting, one of the most important things to remember is that you have more than one subject, which means you need a greater depth of field. Normally, it’s fine to shoot wide open because you want to separate your subject from the rest of the frame, and the wide aperture will do that by blurring the background (and foreground).
However, when two cubs are playing together, you’ll almost certainly want both of them to be sharp. There are three ways to increase your depth of field:
Move further away.
Use a shorter focal length.
Use a narrower aperture.
Unfortunately, numbers 1 and 2 conflict with each other: if you moved further away, you’d need a longer focal length to keep the same framing, not a shorter one. That means you can only do one of the two. There is a good alternative, though, which is to dial in a narrower aperture. It’s not as effective, so you usually have to double your f-stop (ie subtract two stops of light) to double your depth of field. However, it might be your only option.
To work out the impact of distance, focal length and aperture on depth of field, you might want to download a free smartphone app. I use one called SetMyCamera, and it tells me everything I need to know!
Slow Pan

Smooth Operator
Exposure mode: shutter priority with manual ISO
Shutter speed: 1/speed in mph (eg 1/60 for one running at 60 mph)
Aperture: n/a
ISO: 31 or 50 (ie the lowest possible, which varies by camera and brand)
If you ever get so cocky that you think you’ve nothing left to learn, try taking a few slow pans! This is a great technique, but it’s appallingly hard to master, and your hit rate is going to take a beating. The first time Paul Goldstein taught me the slow pan, I took 1,504 photos of seabirds in Svalbard—but I only kept four!
If you want chapter and verse on how to take a slow pan, I suggest you read my article. However, here’s the Cliff Notes version…
The aim of the slow pan is to create a sense of movement and energy by using a slow shutter speed to blur the background and the legs or wings of your subject. However, you still need to keep the head reasonably sharp, which makes for a tricky balancing act!
If it works, the head will be sharp while everything else will be blurred—but not too much (see above). It’s a great feeling when it works, but it’s a painfully steep learning curve. All your settings have to be spot on, but even then, you might need a bit of luck—and the benefits of Topaz Labs Photo AI!
Hunting

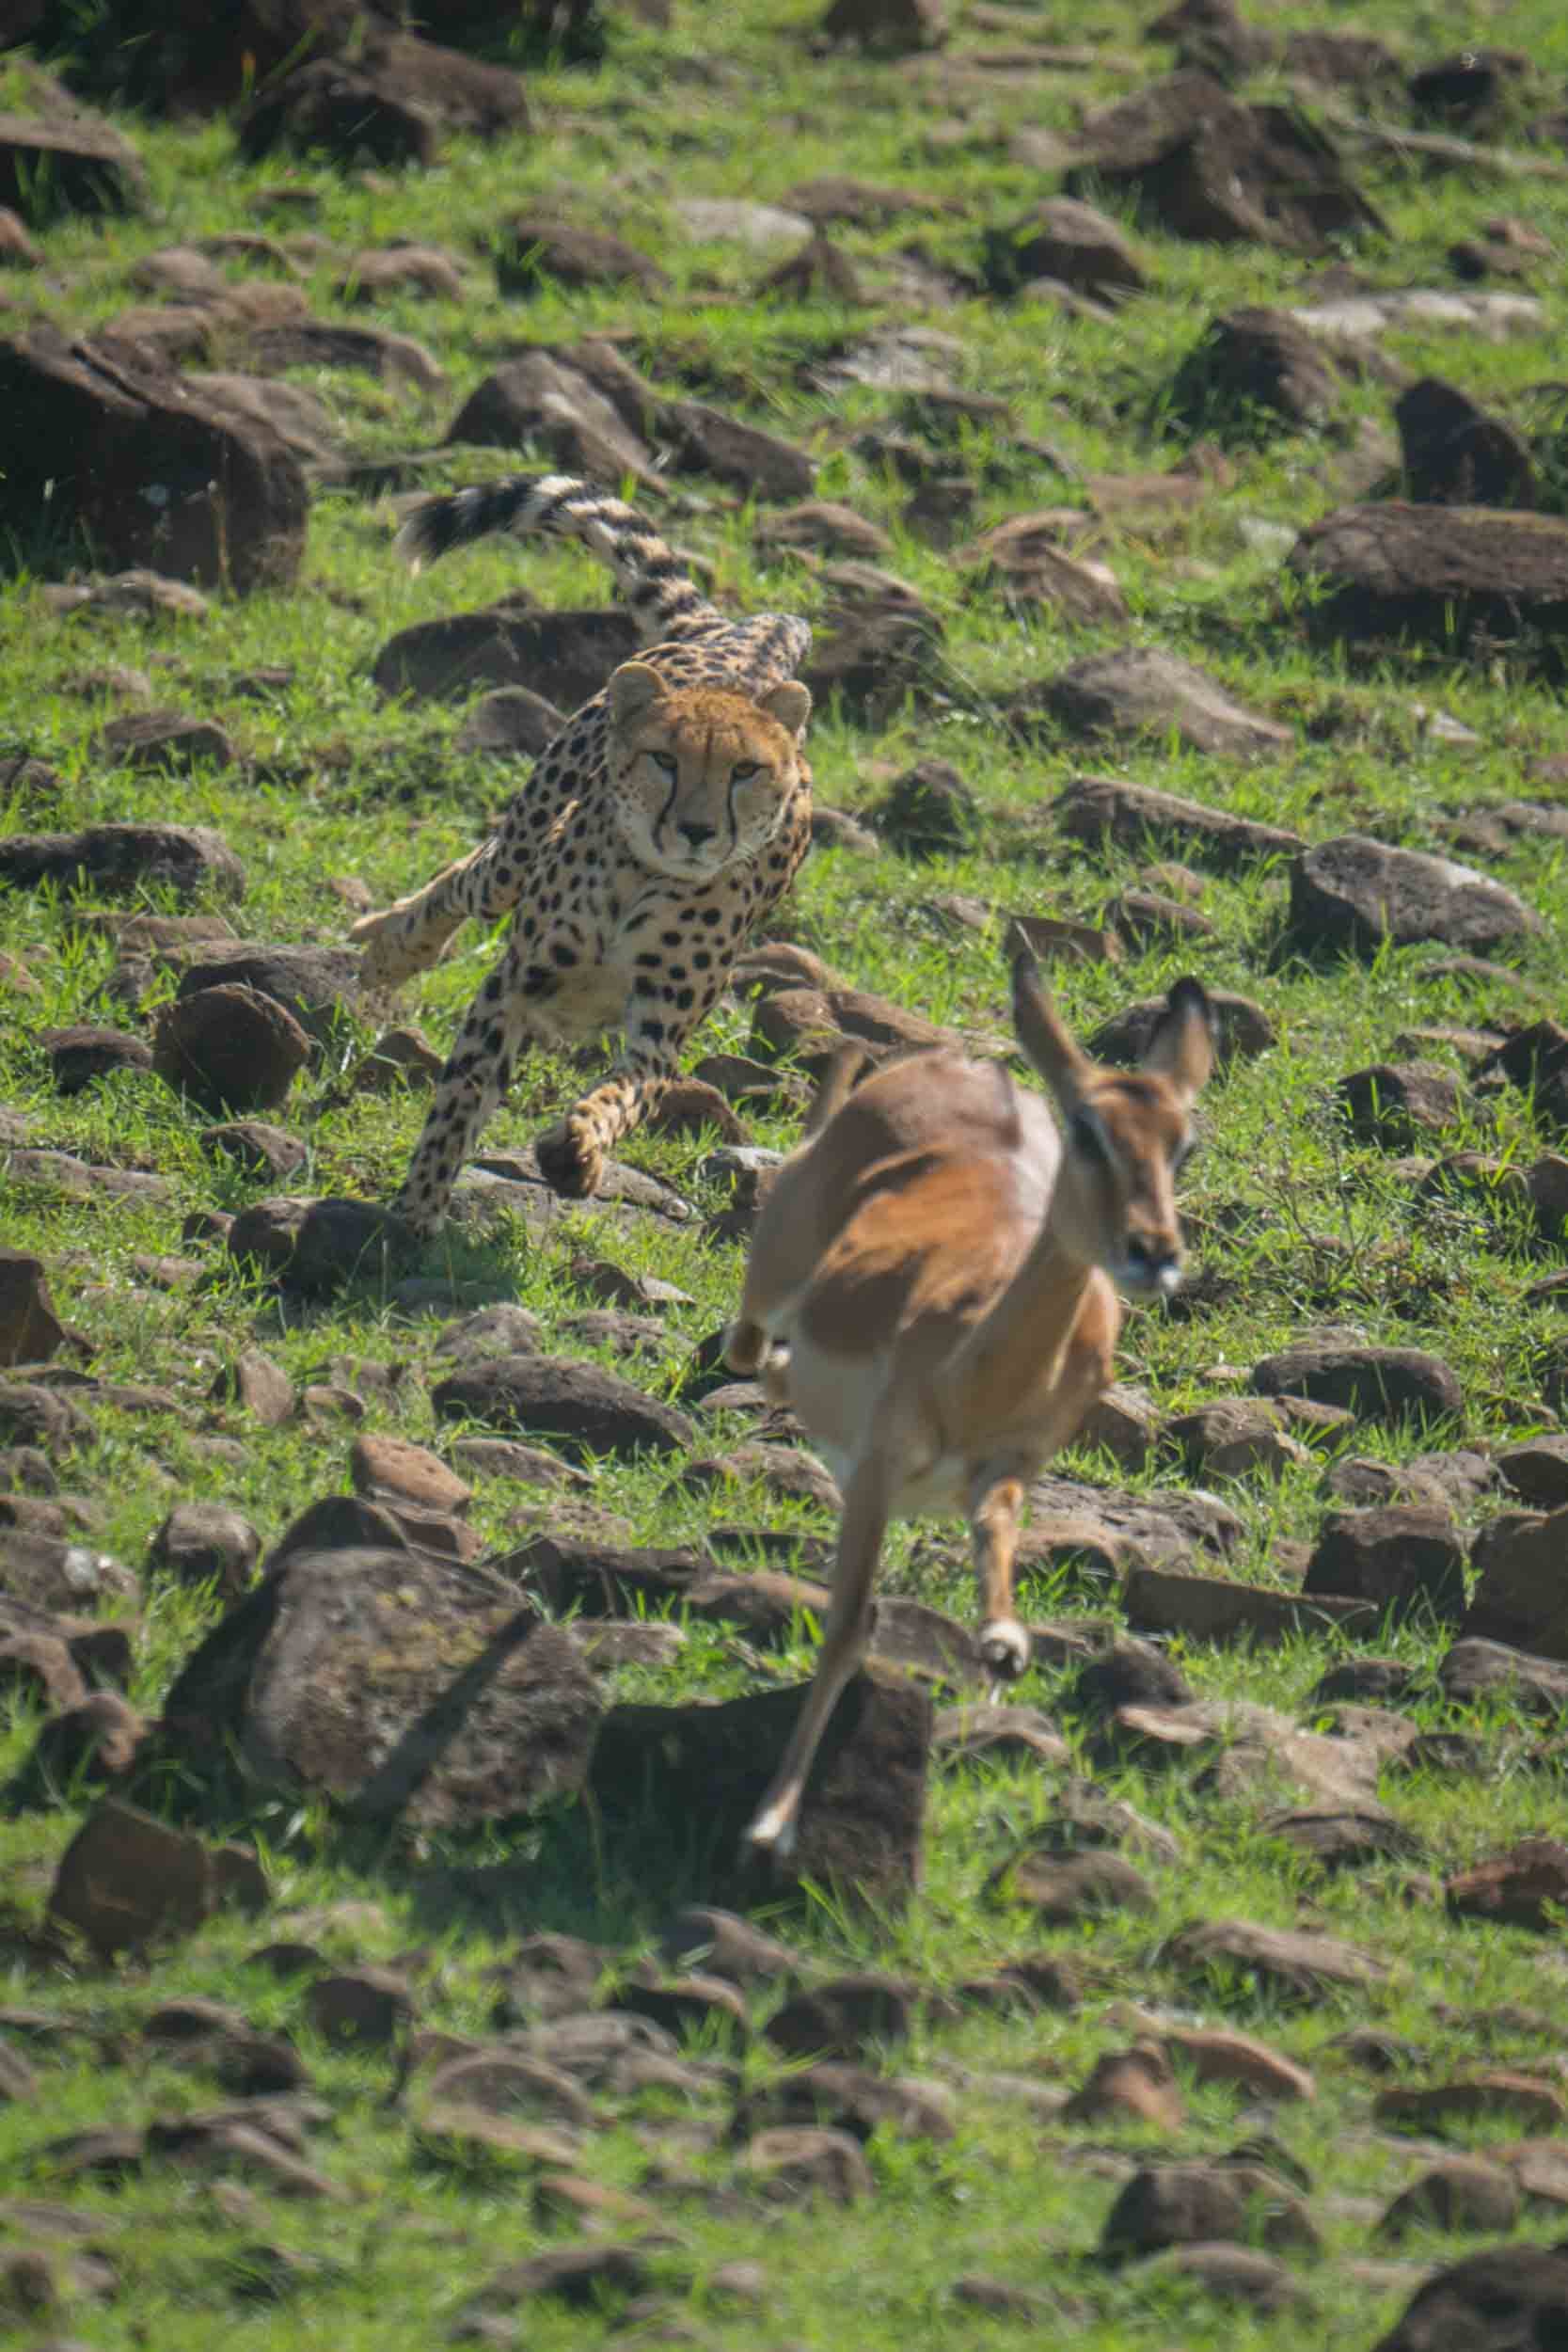
"Behind you!"
Exposure mode: manual with auto ISO (or
Shutter speed: 1/1600-1/2000
Aperture: f/4-f/8
ISO: n/a
OR: Slow Pan settings (see above)
I occasionally meet first-time visitors to Africa who say they love being on safari, but I have to tell them, “No, you don’t. You might think you love it, but you haven’t seen a cheetah kill yet!”
As a photographer, I’ve seen brown bears catching salmon at Brooks Falls and photographed the Northern Lights in Sweden, but nothing compares to the experience of seeing a cheetah kill. It’s the most exciting thing I think I’ve ever seen. Unfortunately, it’s also one of the rarest. I’ve been on over 500 game drives, but I’ve only ever seen around 10 cheetah kills. That means your chances of seeing one are only 2%!
If you are lucky enough to see a kill (or at least a hunt), the key thing is to be ready. You need to have all your settings dialled in well in advance, and then you need to stand up, rest your camera on the roof of the vehicle and focus on the cheetah. After that, you need to be patient. It might happen in 10 minutes, it might take an hour—or it might never happen at all!
As Ernest Hemingway almost said, cheetah hunts happen ‘gradually, then suddenly’. The build-up is usually slow. The cheetah might spend hours looking for prey then watching a possible target, then lying down, then getting up again, then stalking it and then, finally, chasing it!
Cheetahs are not very successful hunters, and their average success rate is only 40-50%. That means you’ll need to see at least two hunts before you see a kill. And it’s not the same. Foreplay is not the same as sex—no matter what anyone says. It just isn’t!
Now, I admit that some people might get a bit squeamish at this point. They probably don’t like the idea of the poor gazelle getting killed and eaten and having to watch all the gory details. However, I truly believe it’s worth it. And the photos can be amazing (see above).
The exciting part is the chase and the takedown—and that bit isn’t bloody at all. In fact, cheetahs kill their prey by suffocation, so it’s a bloodless kill. The only gory bit is the frantic feeding on the carcase—which even I don’t enjoy!
Now, it’s obviously extremely rare to see a cheetah hunt, let alone a kill, but if you do, you and your guide need to choose a starting position carefully:
Starting level with the cheetah means you’re closer to it initially, but both cheetah and prey will be running away from you, so there’s a danger that you’ll only get ‘butt shots’!
Starting level with the prey means you’ll see the cheetah approaching, but the takedown will still be up to 100 yards away.
Starting in front of the prey means you should see both cheetah and prey approaching and maybe even the takedown if you guess correctly, but chases rarely take place in straight lines, and you might end up miles away!
Your camera settings are very important—especially the shutter speed. There are two main approaches:
With a high shutter speed to freeze the action.
With a slow shutter speed for a slow pan.
If it’s your first time, you’d probably want to choose Option 1. In fact, you’d be out of your mind to try a slow pan! It’s just too difficult. If you take the safety-first option, you’ll at least get something out of it, but if you take the high-risk option, you’ll probably end up with a deeply disappointing burst of blurred images.
Paul Goldstein is the high priest of the slow pan, but he’s lucky enough to spend a lot of time in the Masai Mara, so he doesn’t have to worry about ‘failure’. He can simply push the bar higher and higher, trying out slower and slower shutter speeds to see what happens. I’m sure he already has plenty of shots of cheetahs ‘at full chat’, as they say, so there’s little point in him taking more and more…
Post-processing

Panning for Gold
I’m a great believer in the power of technology to make life easier. I only have a limited amount of talent as a photographer, so I’m happy to improve my photos by throwing money at the problem. That usually means blowing thousands of pounds on the latest camera equipment or spending four months a year on safari!
However, one very cheap way to become a better photographer is to take out a subscription for Lightroom, Photo AI or a similar software package. It’s only a few quid/bucks a month, and the addition of AI features has really ramped up the performance of these programs.
Raw photographs don’t come out of the camera looking great. In fact, a JPEG would probably look better. However, the benefit of the Raw format is that it captures the maximum amount of information about the exposure. That means it gives you the best possible platform for post-processing your images.
Sharpening
Image sharpness is important for all images, but especially for slow pans, but, sadly, Lightroom just isn’t very good at sharpening. The Detail section of the Develop panel has a sharpening box, but it’s really contrast rather than sharpening. In other words, by ‘sharpening’ the image, all you’re really doing is increasing the contrast at the boundary between light and dark tones.
You don’t need to know all the details, but Photo AI has a totally different approach. It actually sharpens images! There are different AI models available, including a Motion Blur option, but the point is that it gives you a second chance. If your slow pan isn’t quite sharp enough, say, you can try running it through Photo AI and see what happens. Nine times out of 10, you’ll get a sharper, clearer image!
It’s true that you might get a few rather ugly artefacts, but one of the good things about these tools is that you can generate new versions over and over again! If at first you don’t succeed…
Basic Editing
Lightroom is probably the best all-round tool for managing and editing your photos. It’s not as powerful as Photoshop, but Adobe is increasingly adding Photoshop tools and features to Lightroom, and it’s now got just about everything you’ll ever need—including more and more AI functionality.
It would take too long to go through every feature in Lightroom, and you can read a more detailed article here. However, the most important takeaway is that it can radically improve your images. Even if you think a photo already looks good, you can pretty much guarantee it can be improved in Lightroom!
The first thing you should probably do when editing a photo is to crop it. That lets you visualise what the final version will look like, which makes it much easier to rate it. All you have to do is press R on the keyboard and then play around with the aspect ratio. If you want to switch between landscape and portrait, you can press X—and pressing it again is a handy way to crop the image by a standard amount of around 50%.
After that, your first port of call should be the Basic section of the Develop panel. This has an Auto button that tells Lightroom to do its best to edit the photo automatically, but you can always override any or all of the settings by adjusting the sliders yourself:
White Balance
Temp
Tint
Tone
Exposure
Contrast
Highlights
Shadows
Whites
Blacks
Presence
Texture
Clarity
Dehaze
Vibrance
Saturation
In the other sections, you probably only need to use a few of the controls:
Tone Curve: Highlights -5, Shadows -5 to avoid pure whites and blacks
Detail: Sharpening 0 so that I can do that in Photo AI if necessary
Lens Blur: Apply if the background is too distracting
Effects: Post-Crop Vignetting/Style Highlight Priority/Amount -12 to create a subtle vignette
Calibration: Blue Primary/Saturation +50-100 to add some ‘pop’—especially for sunrise and sunset shots.
Masking
All these offer a good starting point if you’re new to Lightroom, but a more sophisticated approach should involve local rather than global changes, and that means using masking (Shift + W).
These days, Lightroom has very powerful and accurate masking tools that allow you to select the Subject, Sky and Background automatically so that you can edit them separately. For example, you might want the sky to be a darker shade of blue, but you don’t want to alter the colour of the lions! That’s easily done if you create a mask for the sky and then edit it separately—without altering any of the global controls in the Basic section.
There are also various other selection tools:
Objects
Brush (K)
Linear Gradient (M)
Radial Gradient (Shift + M)
Range
Colour Range (Shift + J)
Luminance Range (Shift + Q)
Depth Range (Shift + D)
This might all sound a bit complicated, but the great thing about Lightroom as a photo editor is that it’s non-destructive. That means you can play around with all the settings without having to worry about permanently changing or deleting your photos.
If you don’t like what you’ve just done, you can simply undo your most recent change(s) (Command + Z or Control + Z). There’s even a History section at the bottom of the left-hand panel in the Develop module, so you can always go back to the last point when you were happy with the image.
User Presets
One of the ways to make editing quicker and more efficient is to create User Presets. There are various default Lightroom options and plenty of free and paid-for versions available online, but you can always create your own.
The main benefit is to save time doing repetitive tasks. Say you want to add a vignette to 50 photos. It would take an age to go through them all, manually adding the changes. Instead, you can create a vignette in one image, then create a User Preset by clicking the + sign and then Create preset… in the Presets section in the left-hand panel in the Develop module.
This will display a checkbox screen that lets you name your preset and choose which features to include—such as Post-Crop Vignetting in the Effects section. Conveniently, there are buttons to Check All or Check None to speed up the process.
Once you’ve created a preset, you can apply it by simply clicking on it in the User Presets section of the Presets menu. Again, if you don’t like it, you can either undo the change or edit it using the sliders in the relevant section.
Remove
The last but probably most important control is the Remove tool (Q). You can use this to remove any unwanted sensor spots or other distractions. There are three modes, each of which can be helpful depending on the circumstances:
Remove takes away any blemish automatically (using generative AI if you tick the box).
Heal samples the image from a matching spot nearby in order to ‘guess’ what should replace the blemish.
Clone does the same but simply copies and pastes the sample area over the blemish.
To sum up, Lightroom is a very powerful program, and it can do wonders for your photos. And even if you don’t get on with it, you can always try one of many other alternatives, including Photoshop, Photo AI, Luminar and Capture One.
If you’ve never tried editing your images before, it’s worth experimenting. Go on, give it a go…!
Verdict

Hawk Eye
Photographing cheetahs is one of life’s greatest pleasures, and if you happen to see a cheetah kill, you’ll be very lucky indeed. They’re beautiful animals, and they deserve to be celebrated in beautiful works of art. I hope this article has given you a little inspiration as well as a few tips for improving your shots.
Fingers crossed, I’ll be back in Africa in the next few weeks. We shall see…
If you’d like to order a framed print of one of my wildlife photographs, please visit the Prints page.
If you’d like to book a lesson or order an online photography course, please visit my Lessons and Courses pages.